This guide from our GRE cheating service explains, with screenshots from real customers, every step of hiring someone to take the GRE at-home test under its own proctoring system "Wheebox" (previously ProctorU) for you.
If you've been searching for how to pay someone to take my GRE, this walkthrough shows exactly how the whole process works — from first contact to official scores.
The biggest change since the GRE at-home test launched is the second-camera check: ProctorU now has you run your phone as a second, side-facing camera on your desk and screen for the whole exam (see Set up your second (dual) camera below). It sounds like a lot, but we configure the entire thing with you beforehand — so read on and you'll see exactly how straightforward the process still is.
Tell us about yourself
Tell us your target score for the GRE and your location
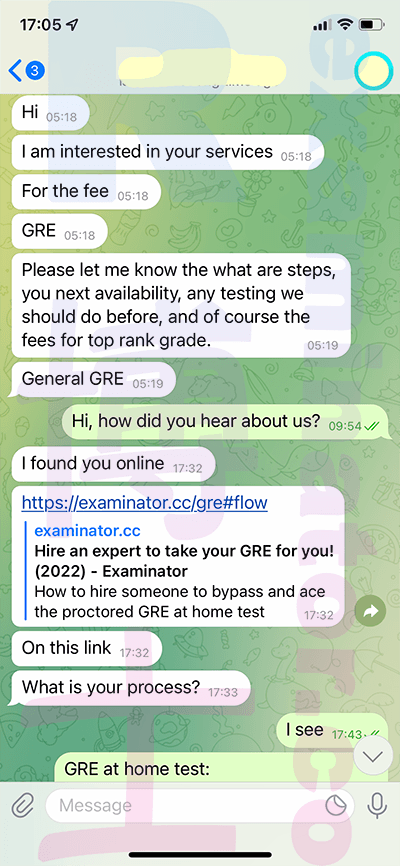
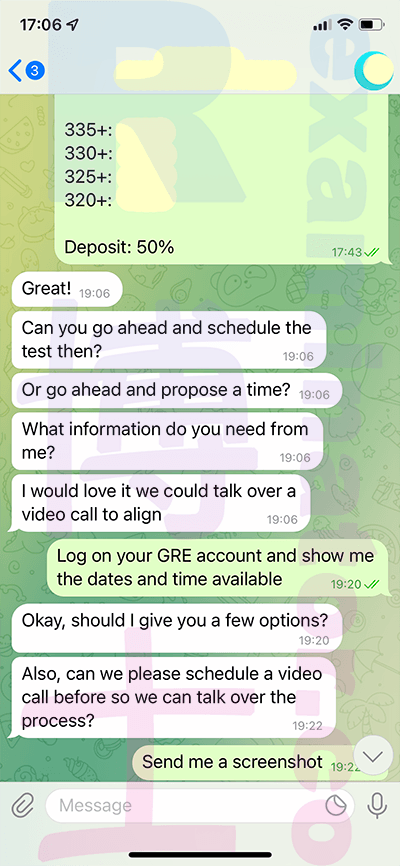
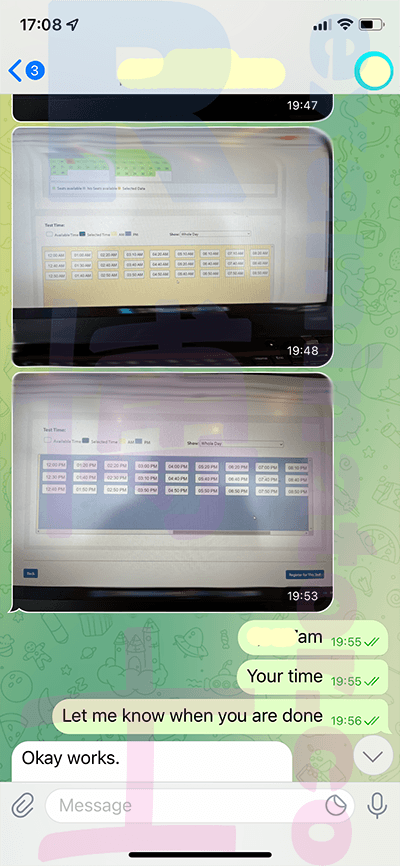
Test date and time for the GRE
Don't send payment until we confirm the date and time. Register for the test and send a screenshot of the confirmation, which will show the date and time, including the time zone. We've had problems in the past with time zone misunderstandings. (e.g.,client in Australia 🇦🇺 mixed up the timezones😅 or American client🇺🇸 confused China timezone with American one 🤦♀️);
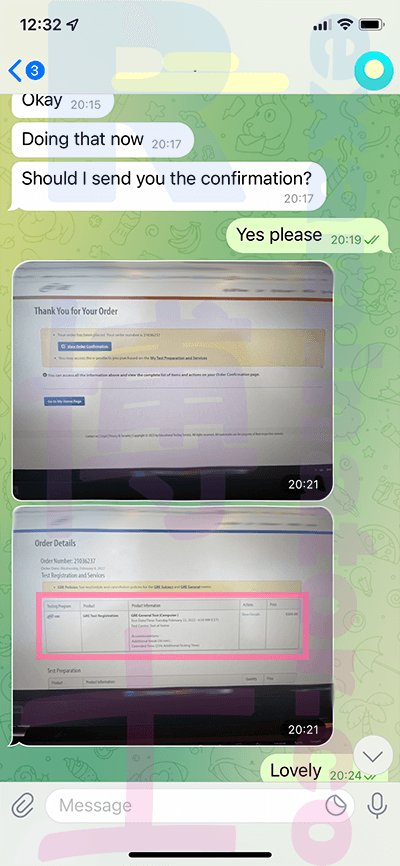
Send the deposit for hiring a GRE proxy tester
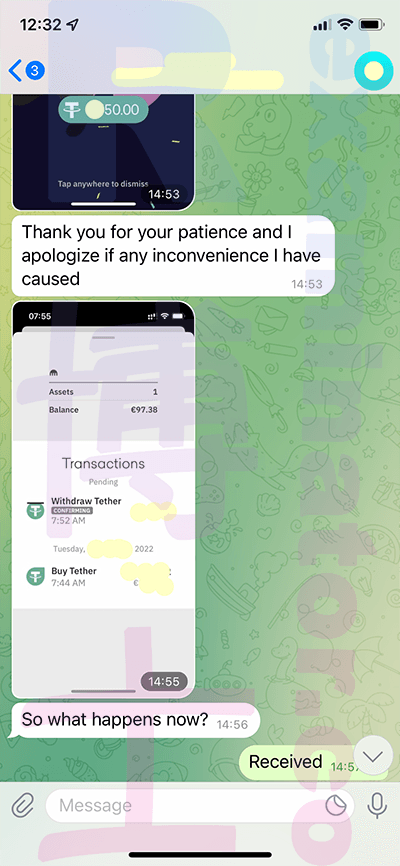
Preparation for GRE proxy testing before the test date
Once you make the deposit, we'll provide you with the necessary details to get started.
Complete all tasks we have assigned you.
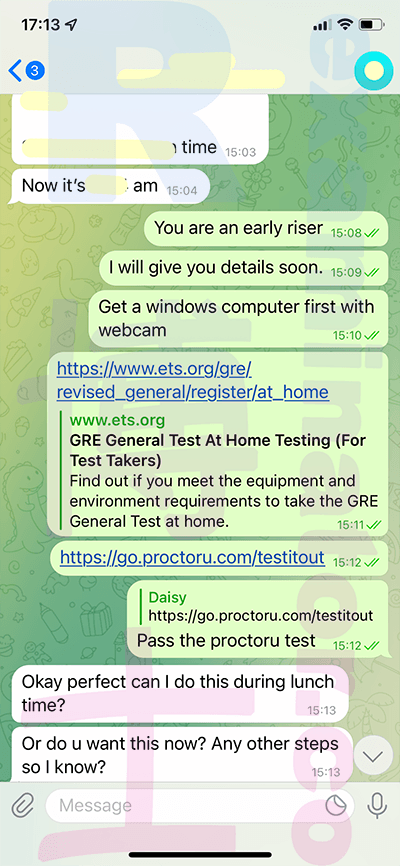
Prepare your equipment and environment for taking the GRE at-home test
Make sure that you meet the Equipment Requirements and Environment and Testing Space Requirements for taking the GRE at-home test, including but not limited to:
- You must be alone in a room with no one else entering during the test. Never in a library!;
- Your table and chair are positioned so that the door to the room will be visible to the proctor;
- Run a ProctorU® Equipment Check and fix any issues, and
- Make sure that you have fast Internet, to prevent getting disconnected during a test🤦♀️ from happening again;
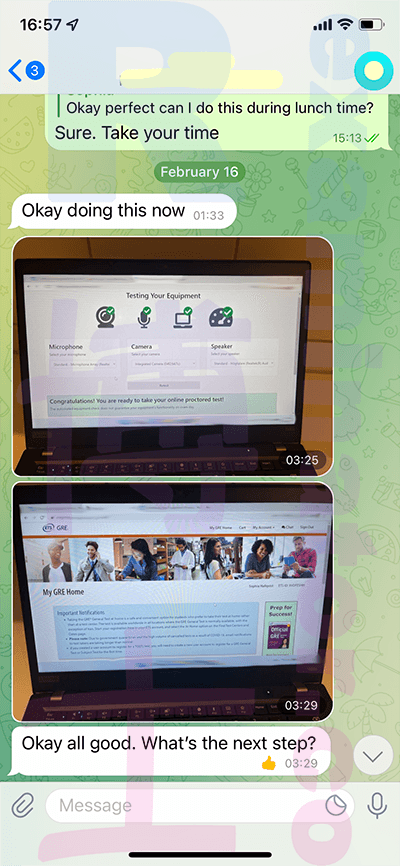
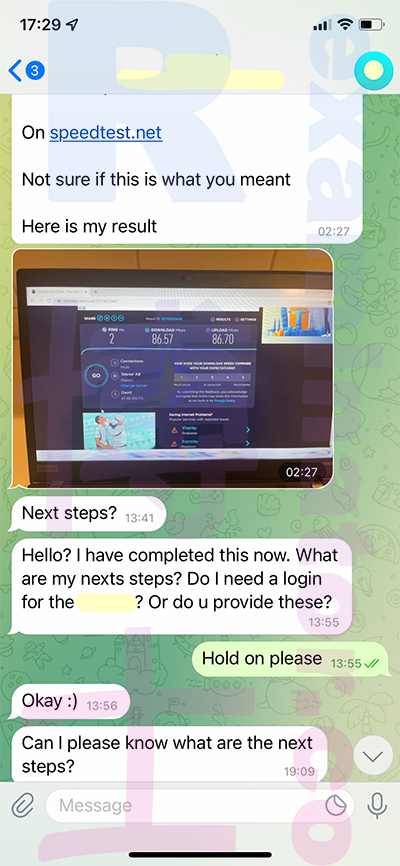
Configure your computer
Before exam day, we will configure your computer and install the software on your computer (roughly 30 minutes). Do another system check just in case.
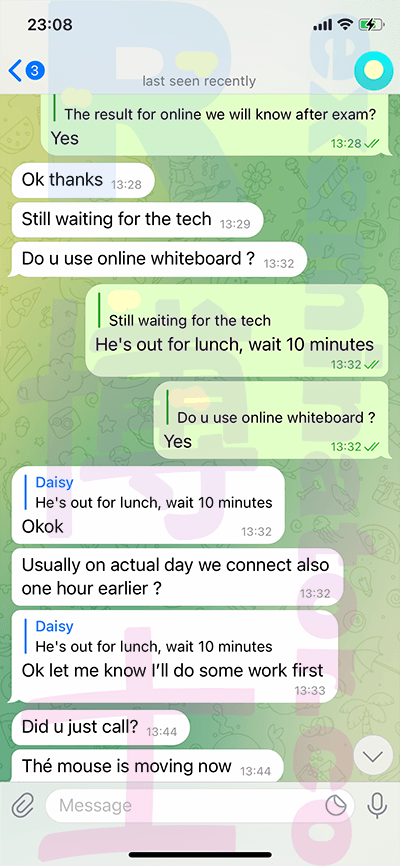
Set up your second camera
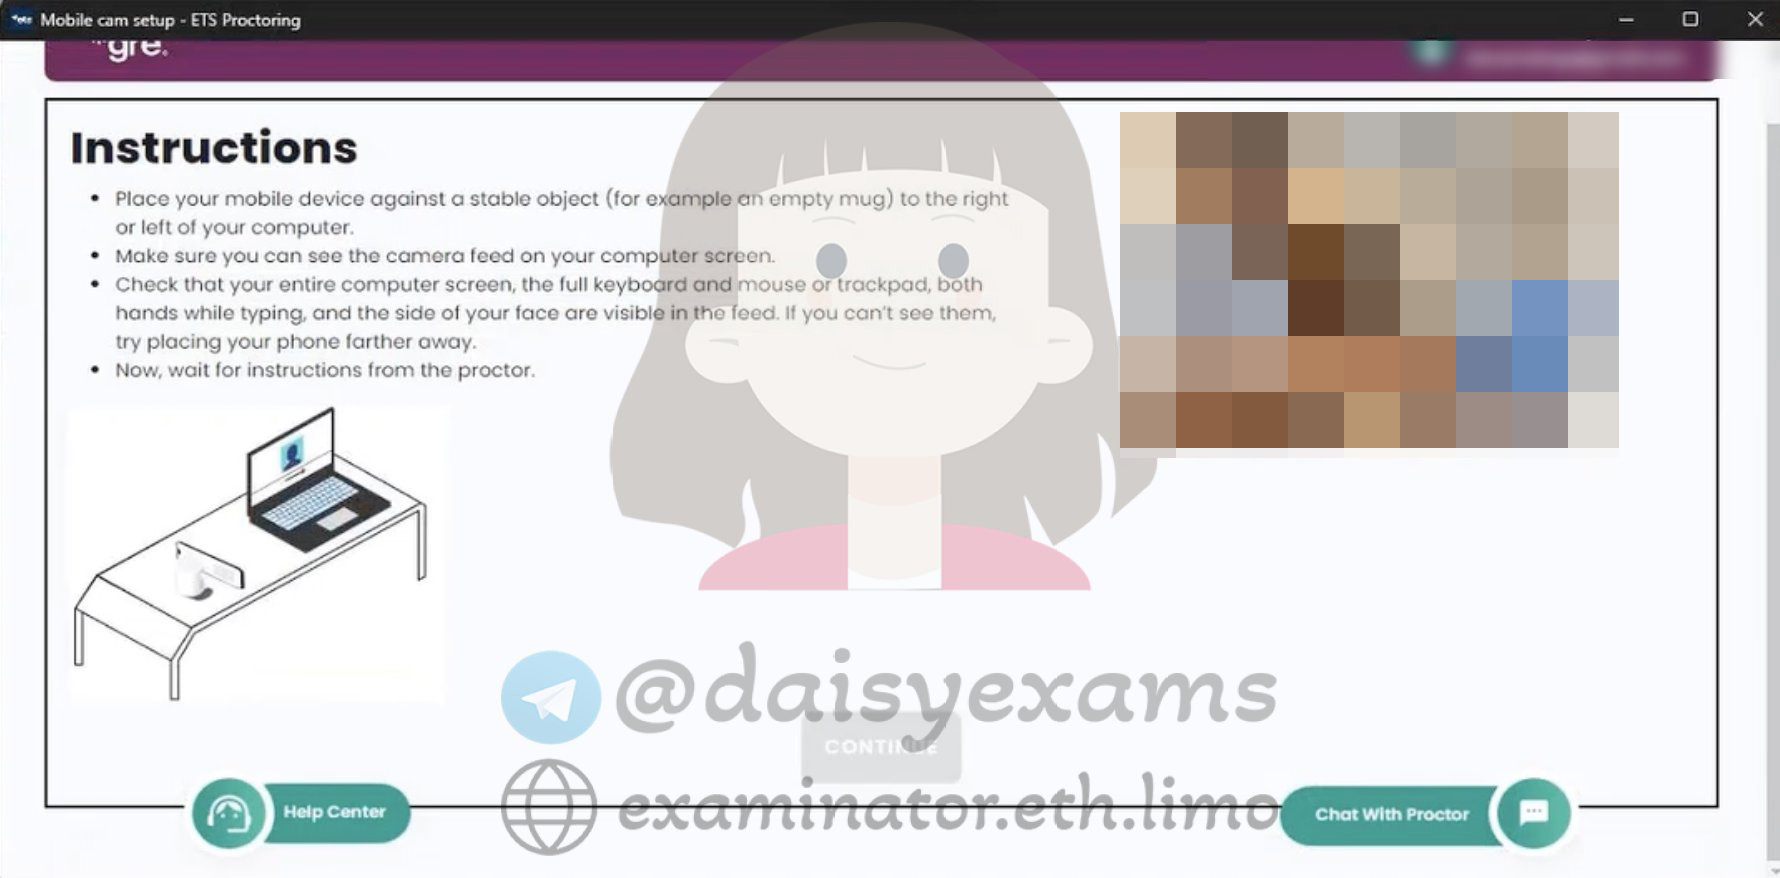
More and more GRE at-home sessions now use a dual-camera check — in fact, ETS at-home exams now require a secondary camera. Alongside your computer webcam, the proctor asks you to place a phone as a second camera off to the side, angled so it shows your desk, hands, keyboard, and monitor for the entire exam. This is the newer replacement for the old "place your phone behind you" step — the phone now stays on and watching throughout the test rather than being put away.
You don't need to figure this out on your own. During our pre-test setup we:
- confirm whether your session requires a second camera, and help you install and join it on your phone;
- position the phone at the correct height and angle so it clears the proctor's check on the first try;
- make sure the second-camera view, your webcam, and what's on your screen all stay consistent from check-in through submission.
We handle the entire dual-camera configuration with you beforehand, so on test day the second-camera request is just another routine step — it won't slow your check-in down or catch you off guard.
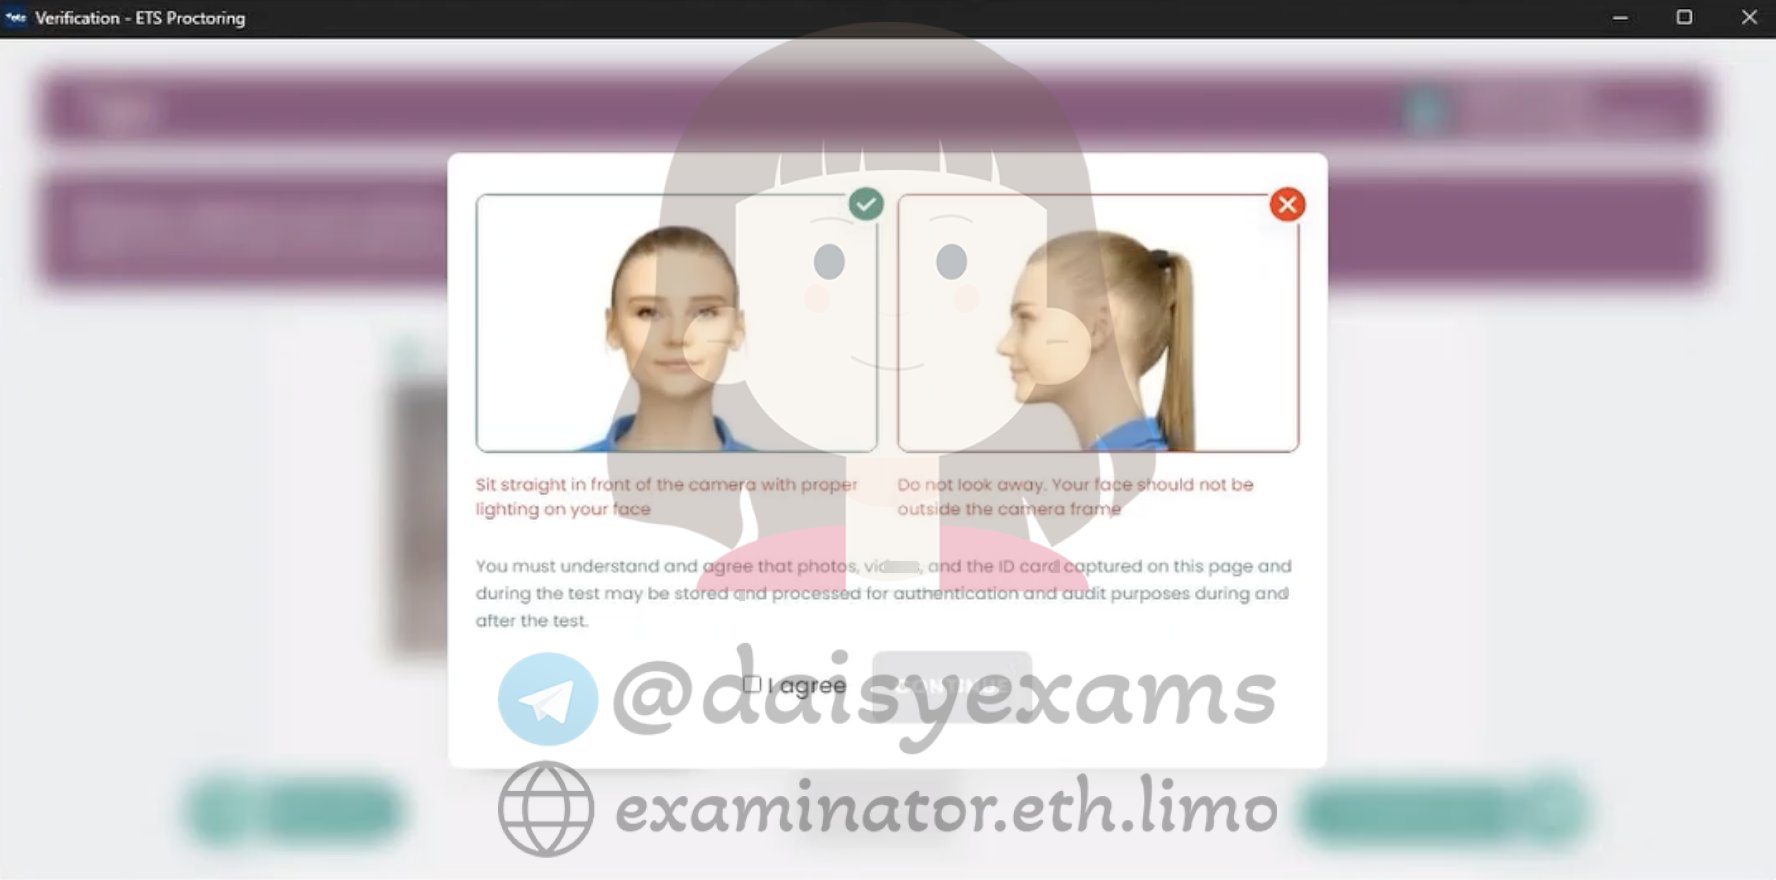
First, the ETS proctoring app runs a face verification — sit straight, keep good lighting, and accept the photo/video capture notice.
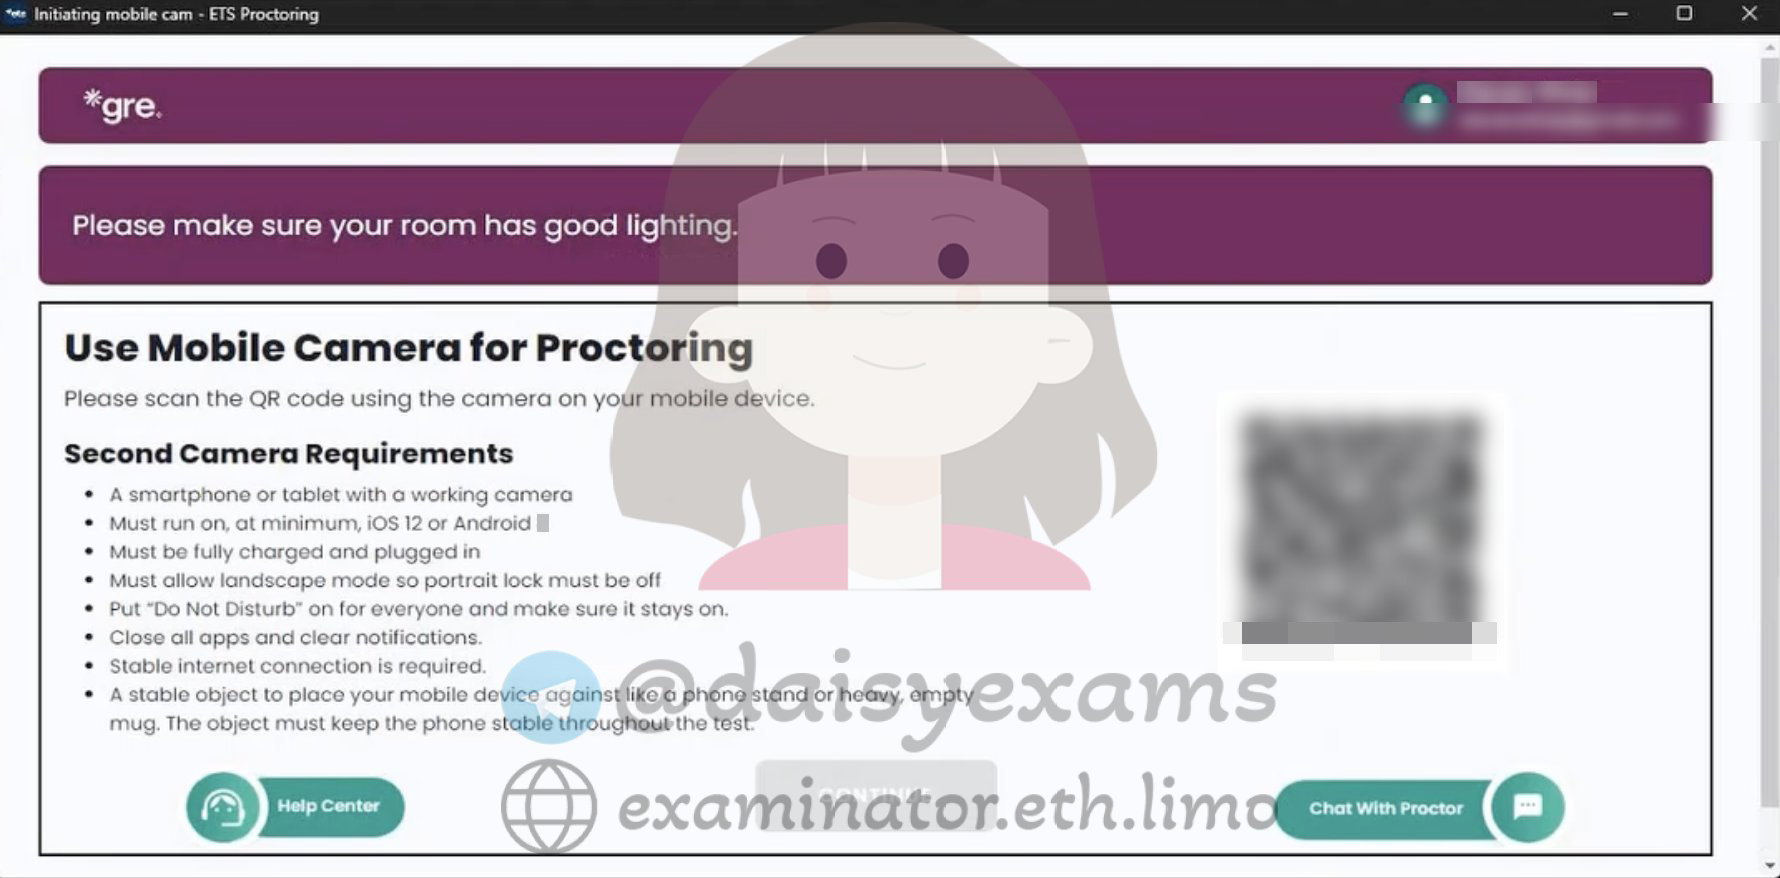
It then has you add a second camera: scan the on-screen QR code with your phone and review the second-camera requirements (fully charged, Do Not Disturb on, landscape, a stable stand).
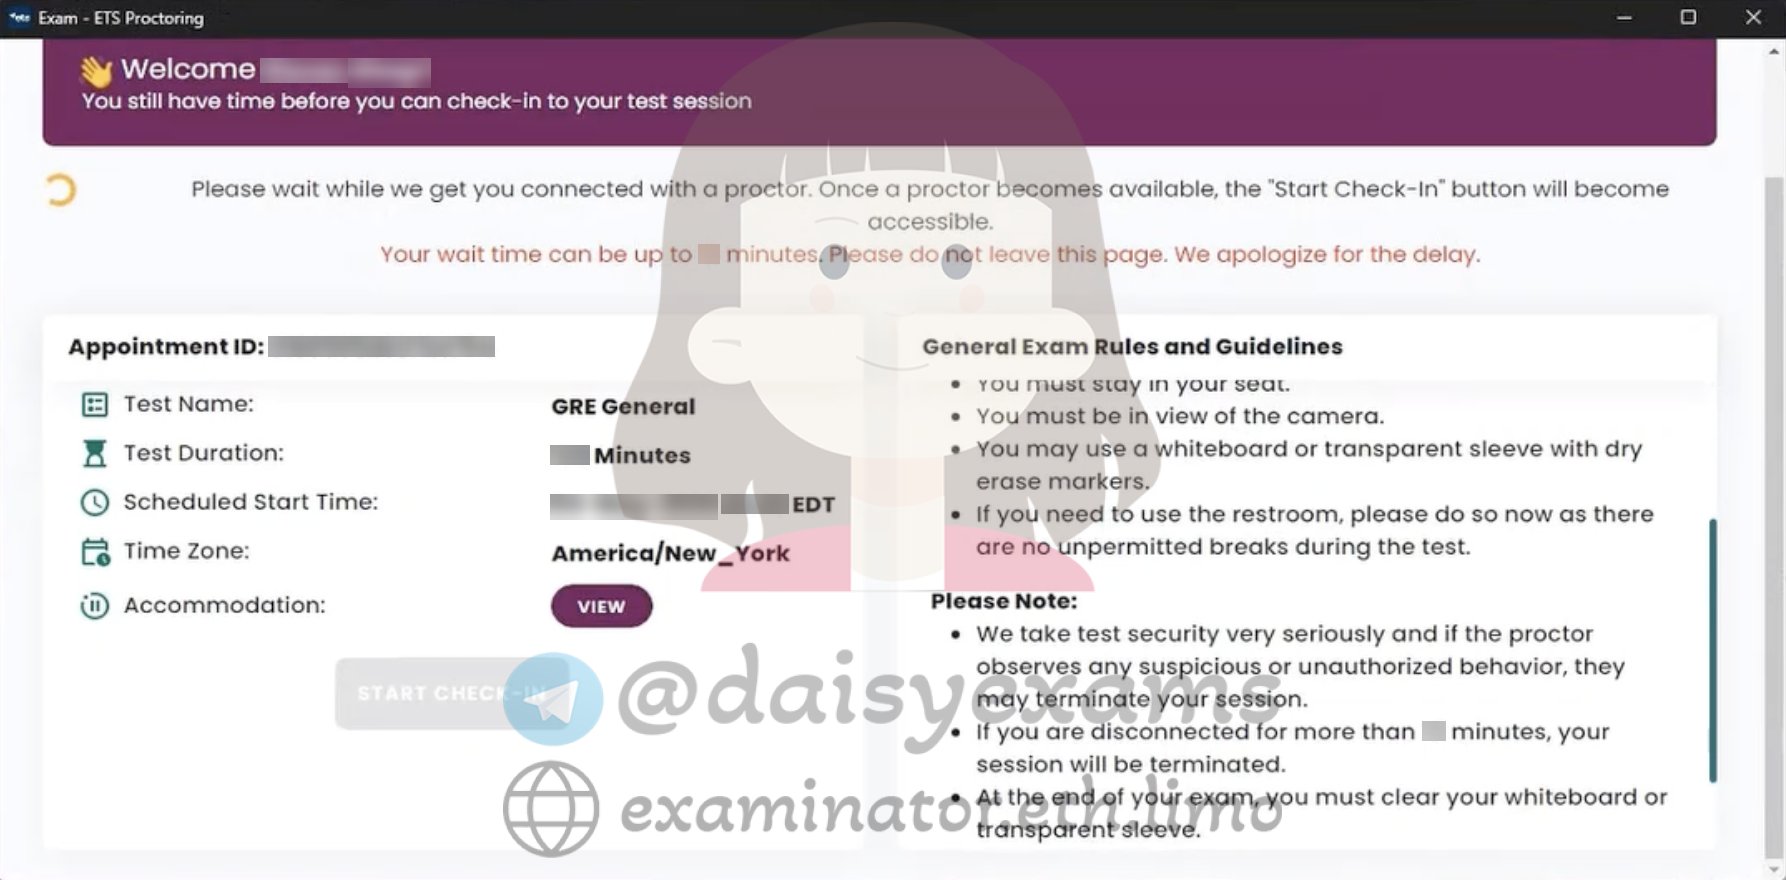
While you wait to be connected to a proctor, your appointment details appear — test name, start time, time zone — alongside the general exam rules.
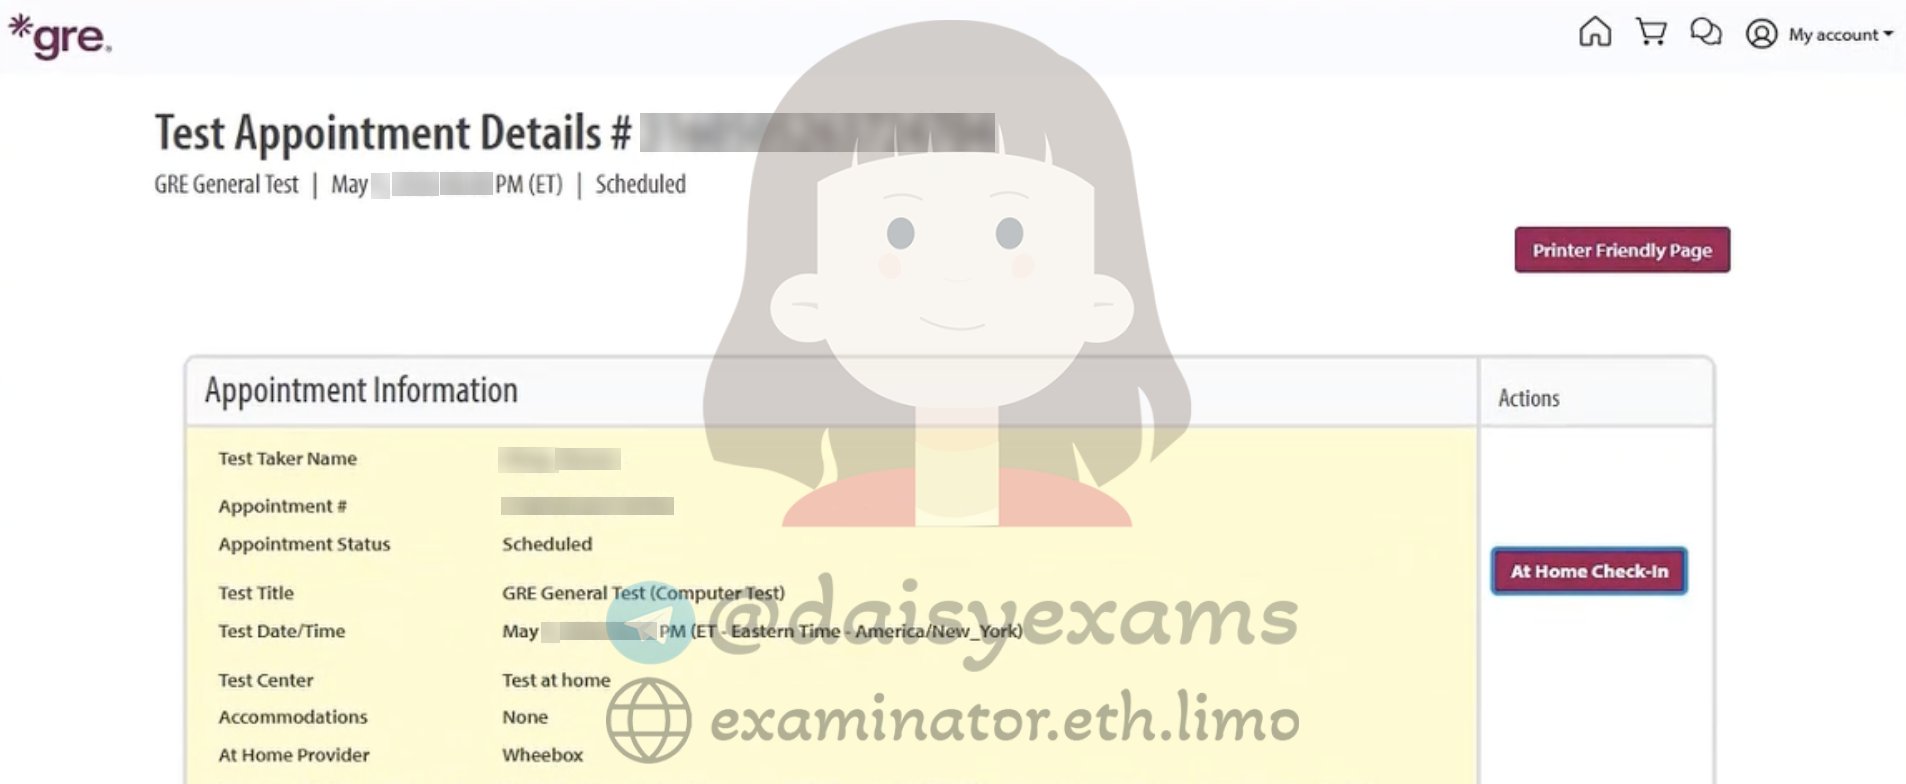
This is where it starts in your ETS account: the Test Appointment Details page with the At-Home Check-In button (note the at-home provider, Wheebox).
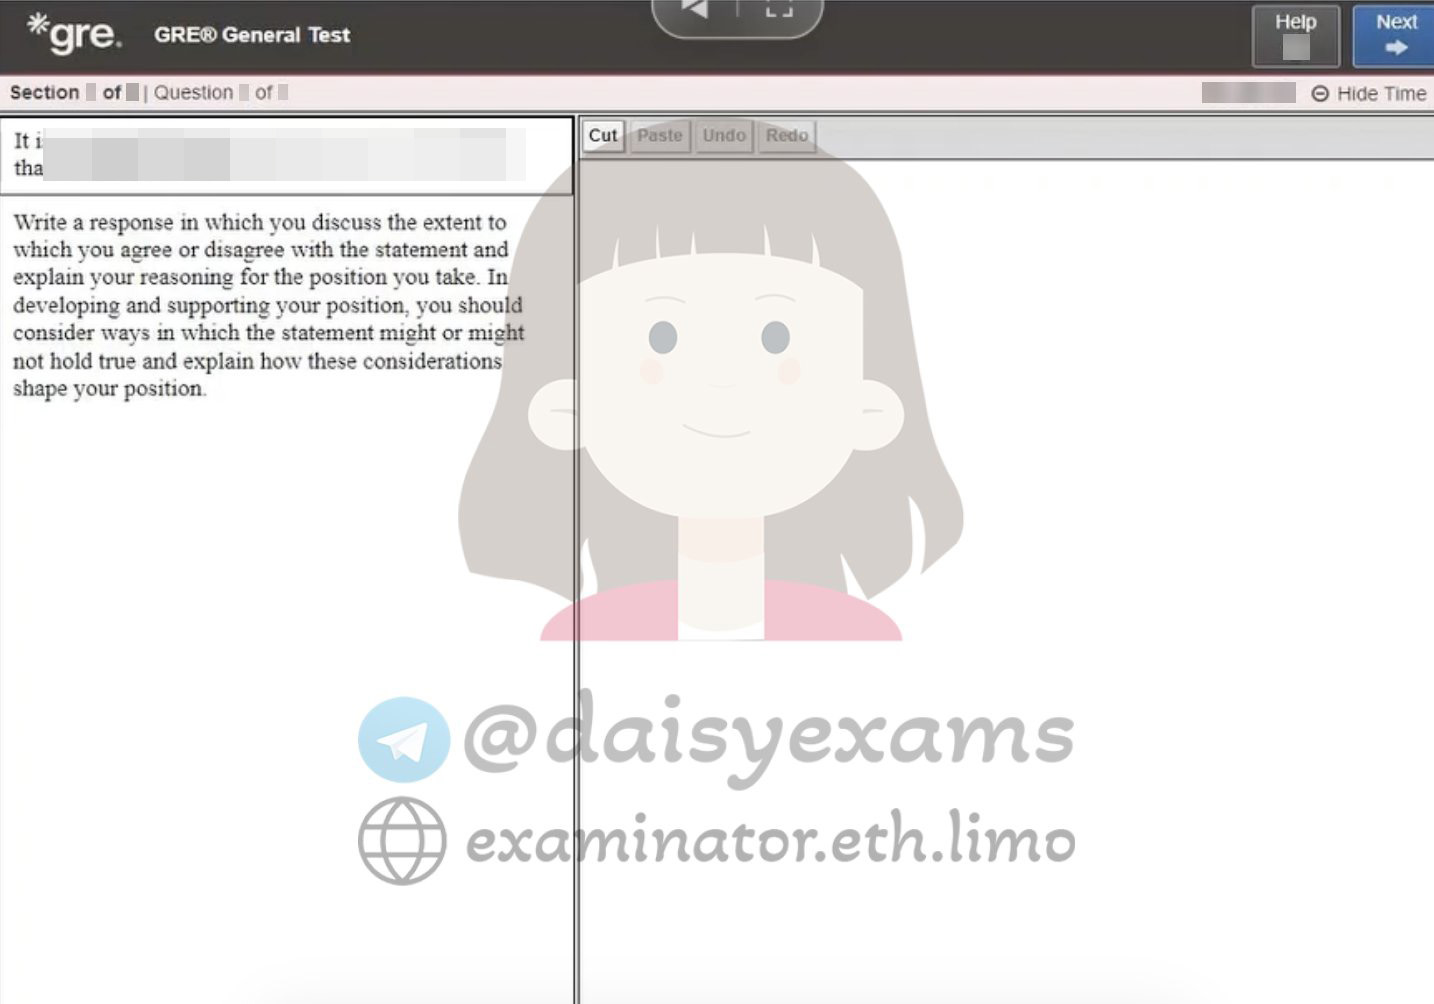
Once you are in, this is a live Analytical Writing task — the essay editor where the response is typed.
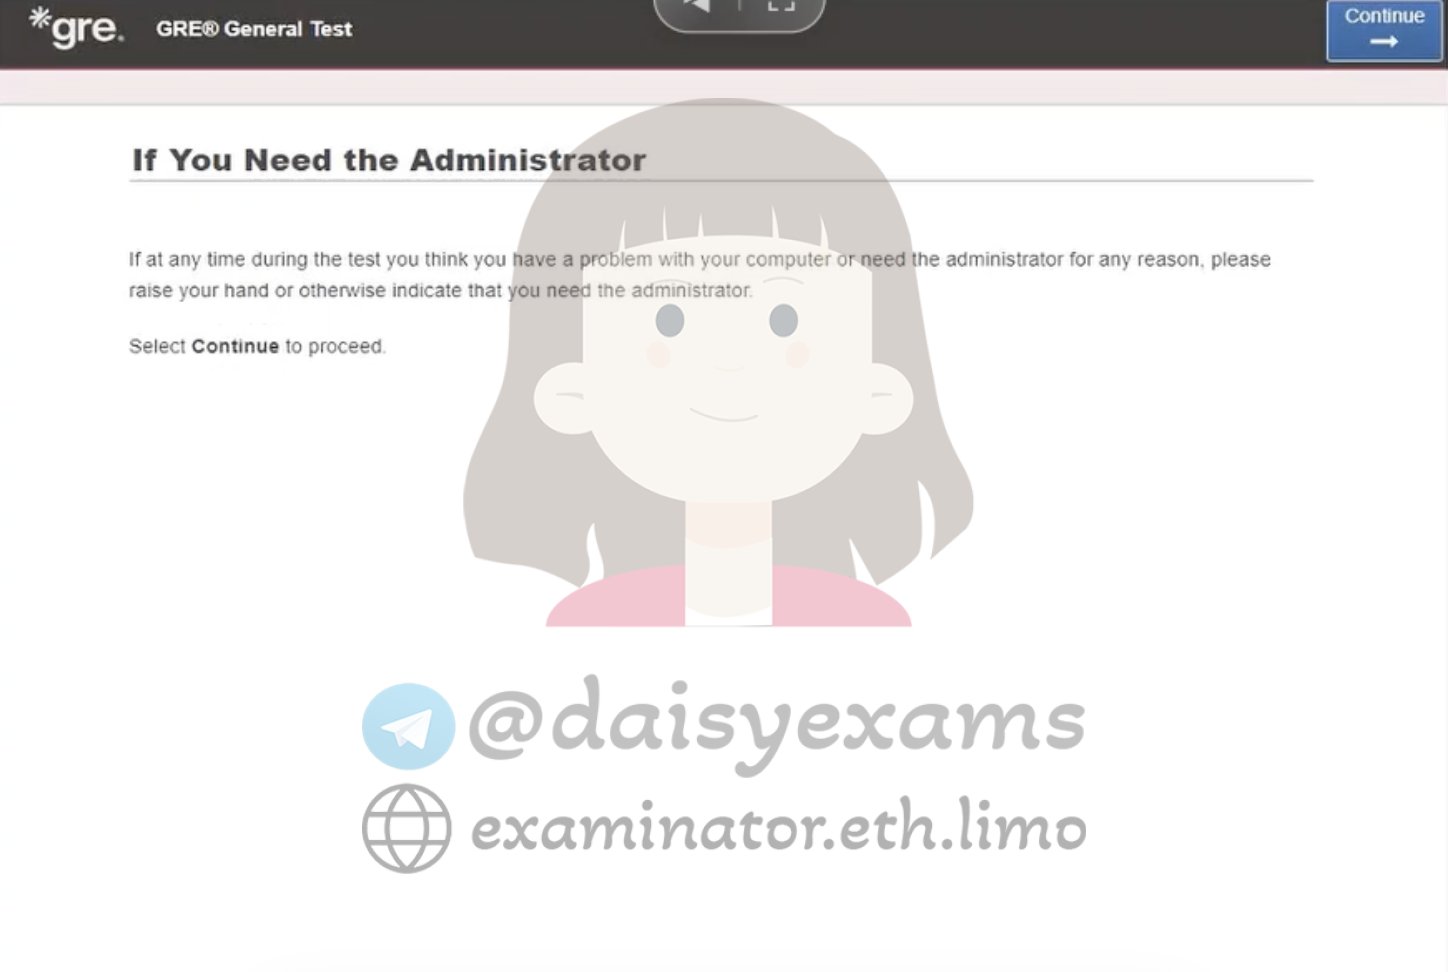
A short notice on how to reach the administrator if any problem comes up during the test.
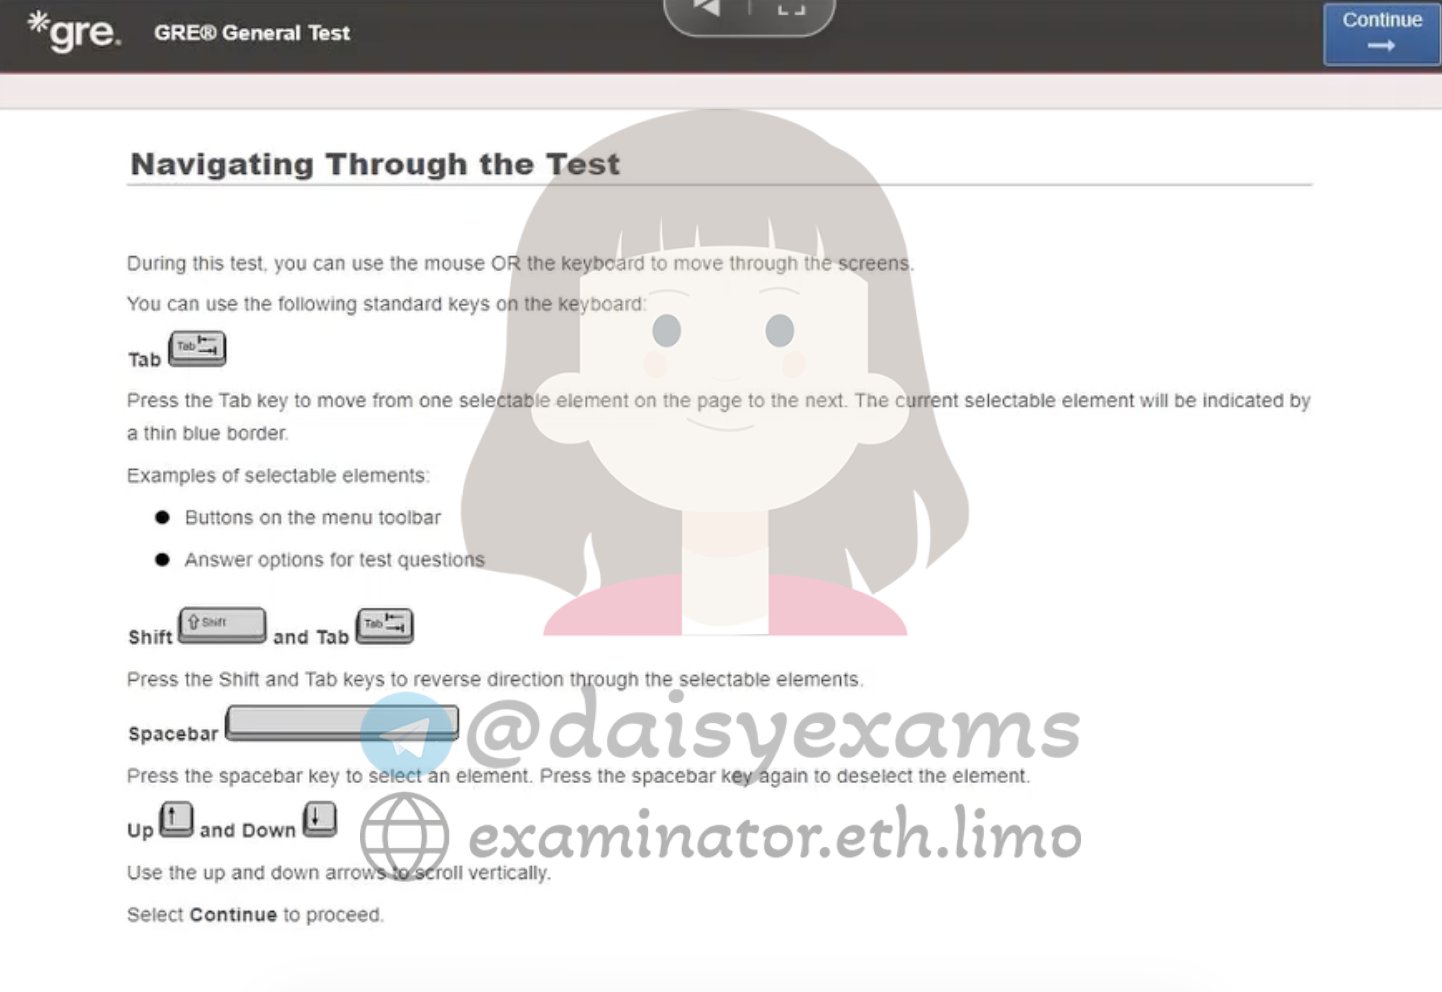
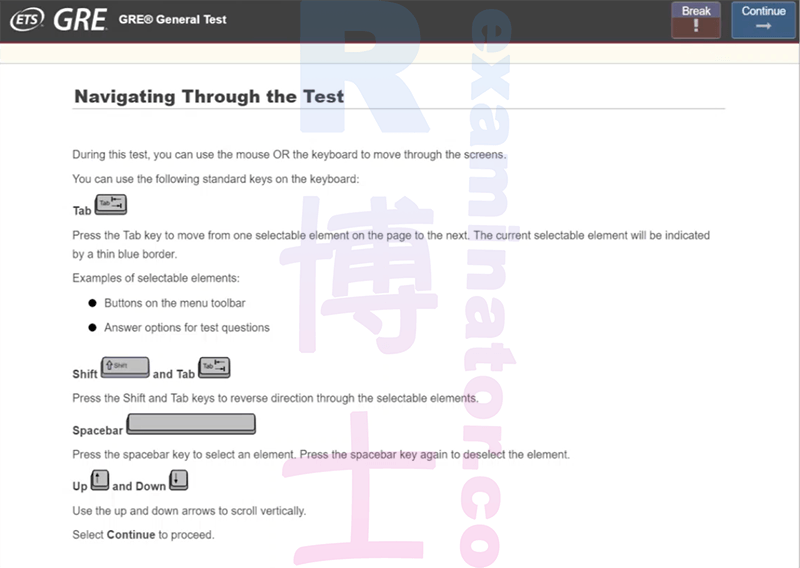
The tutorial screen showing how to move through the test with the mouse or keyboard.
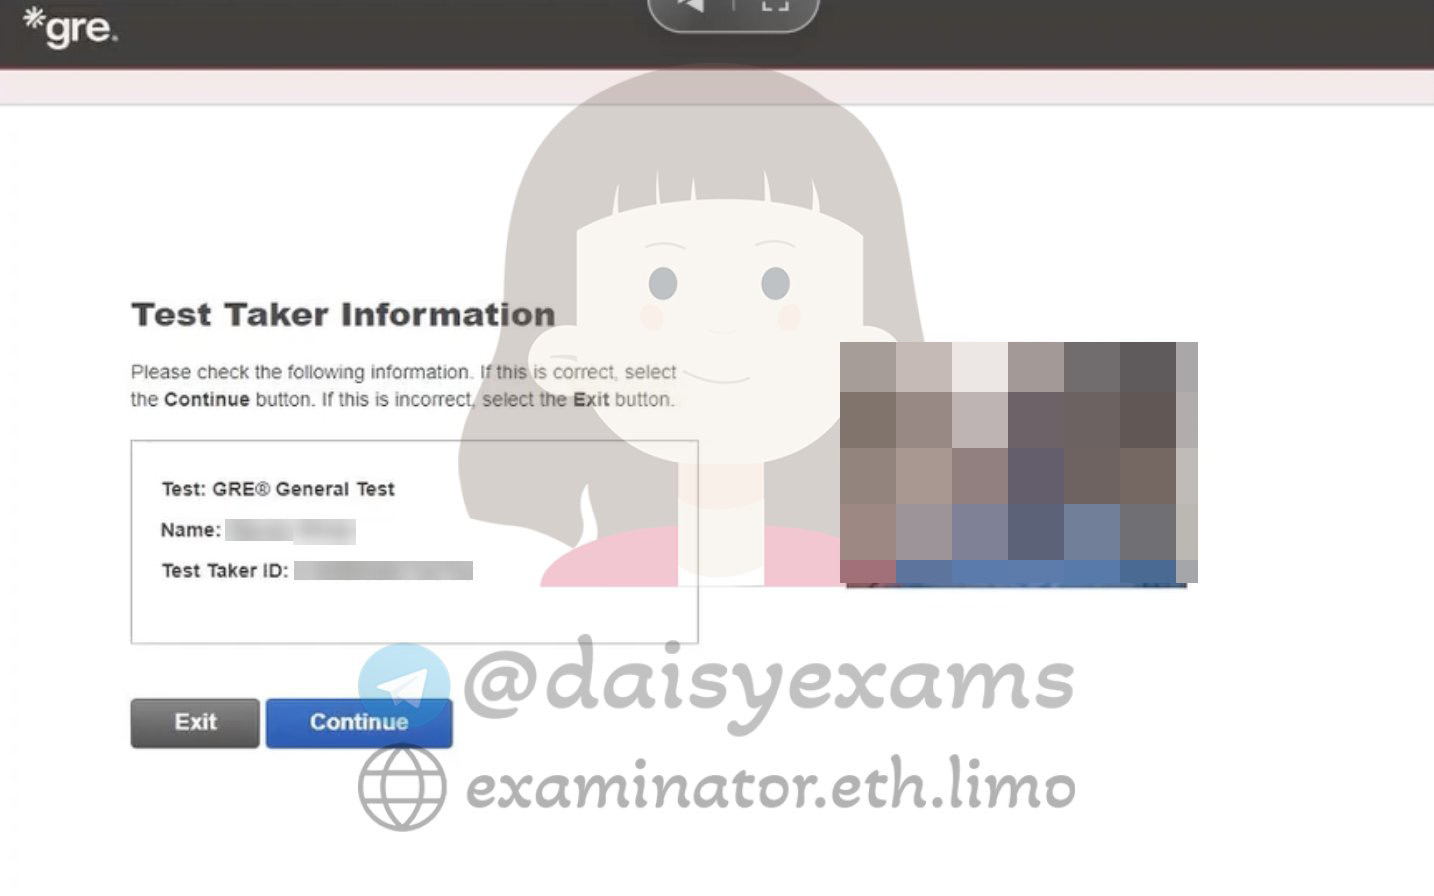
Confirm your Test-Taker Information — name and ID — before continuing.
The second-camera placement instructions: prop your phone to the side so it shows your screen, full keyboard, both hands, and the side of your face.
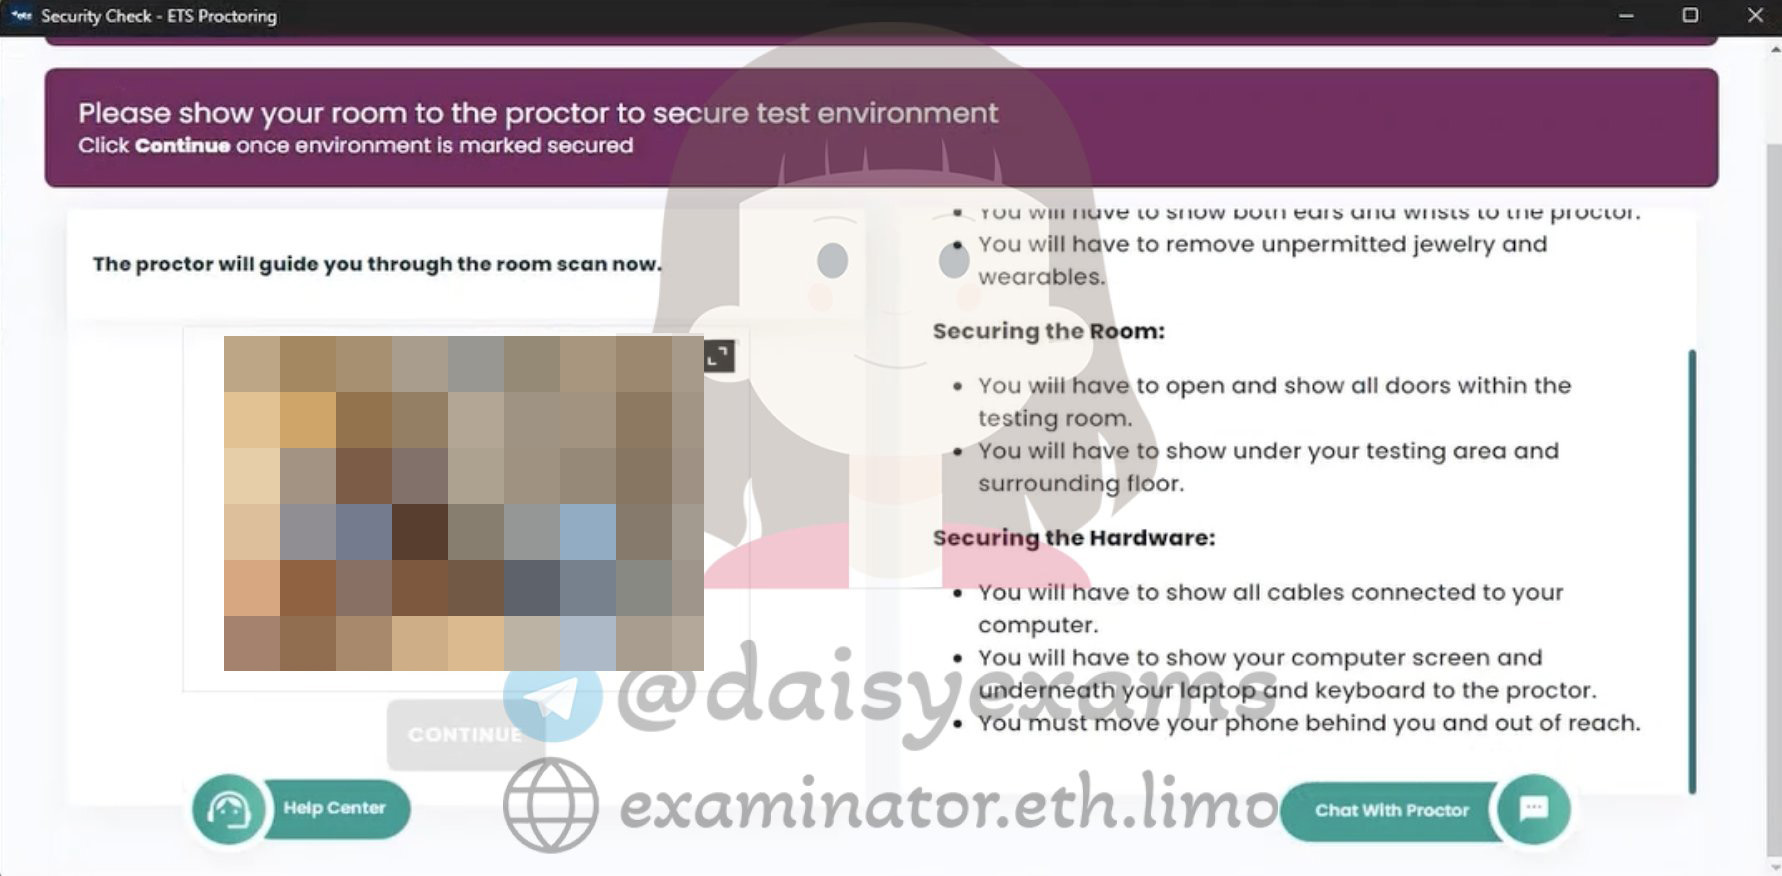
The security check — the proctor guides you through a room-and-hardware scan (doors, desk, cables, screen) to secure the test environment.
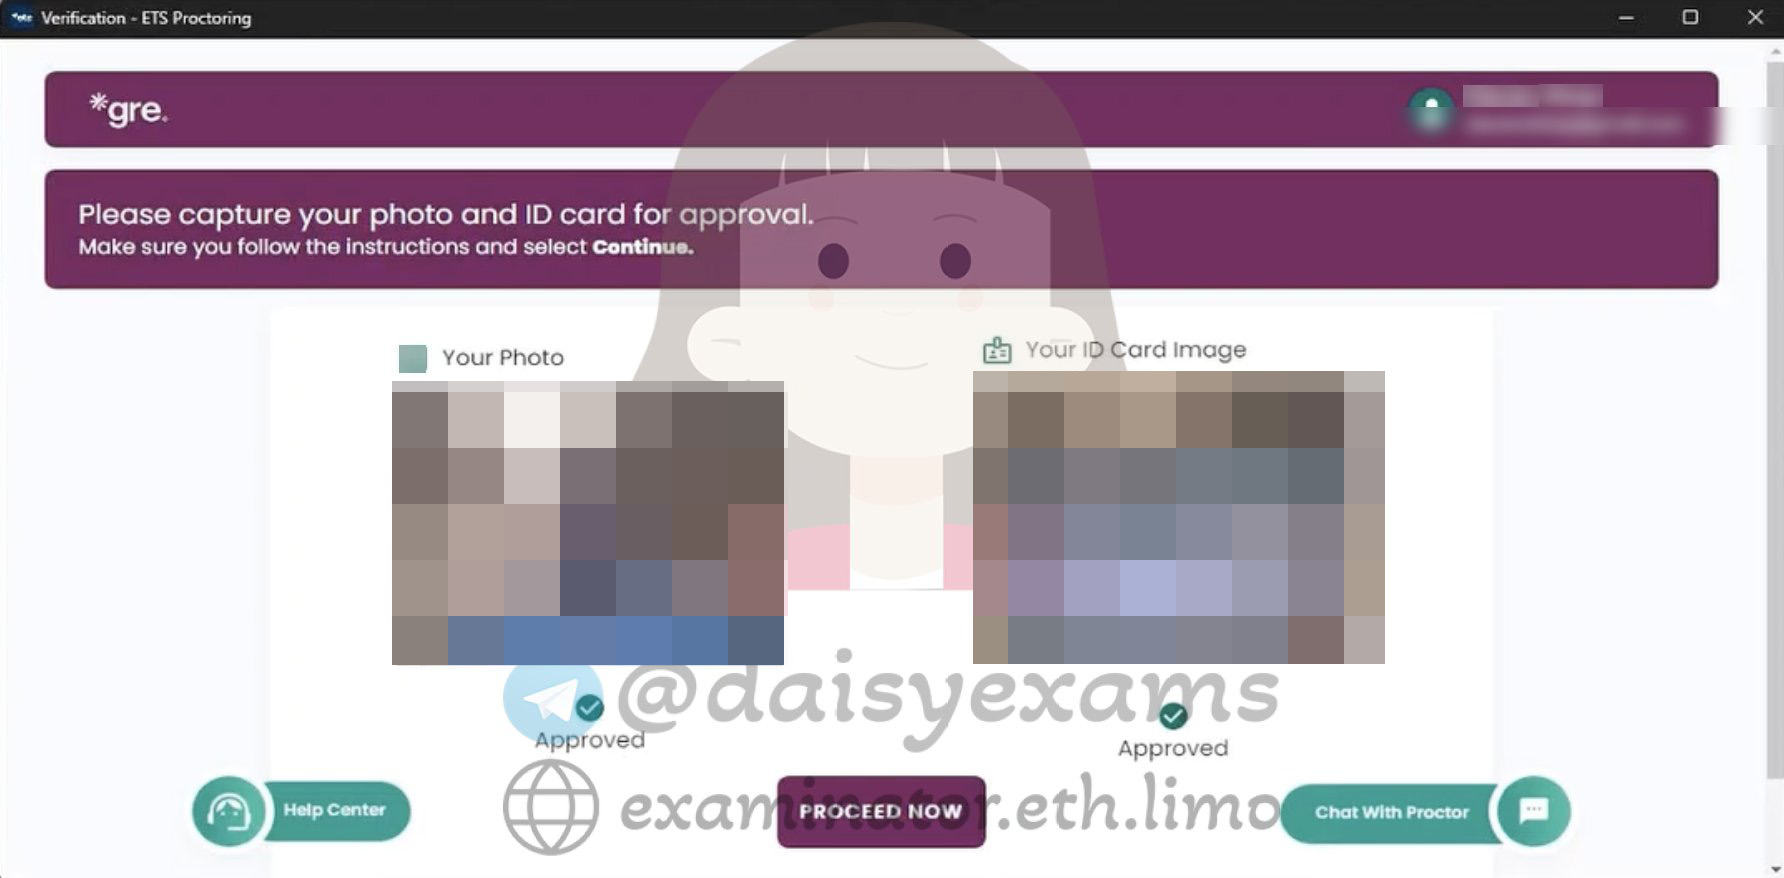
Your photo and ID card are captured and marked Approved — you are cleared to start the exam.
Real proof: a second-camera GRE, passed
Worried the dual-camera setup is too risky? It isn't when it's handled properly. Read how we cleared ETS's new second-camera system for Andy -a returning client sitting his 7th exam with us - angles, lighting, eye movement and all:
👉 Our 7th Exam With "Andy": Bypassing GRE's New Second-Camera Proctoring System
👉 He Bet His Savings on Paying Someone to Take His GRE, and Cleared 330+
We'd been testing second-camera setups for months before ETS officially rolled them out, so by the time it went live we already knew exactly what works.
Coordinate before the test
On the test day, we will connect one hour before the examination starts for last-minute setup and coordination. Before the test begins, remember to go to the toilet; Also, remember that no one is permitted into the testing room to avoid the proctor from canceling the exam.
Start the test
On test day, 30 minutes before the test begins, log on to your ProctorU account and wait for the hired test taker to get ready.
When the countdown ends, click “Start Session” beside the “Reschedule” button.
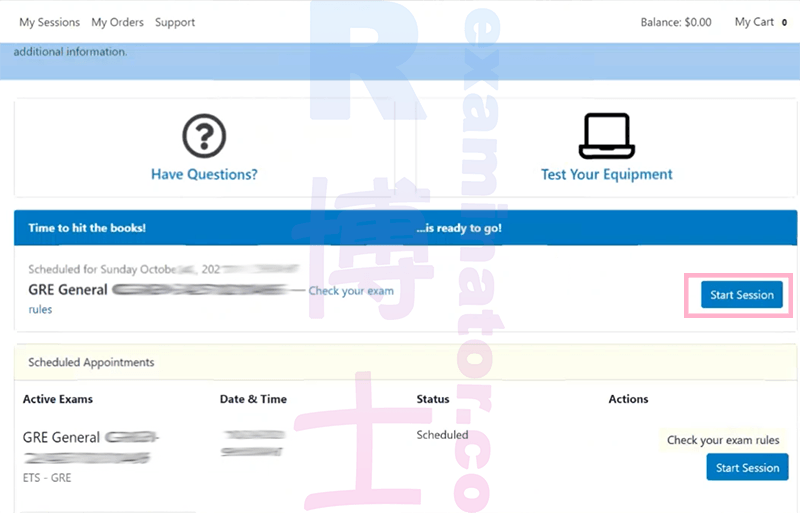
Now you are at the check-in page.
Click " Let’s get started! ”.
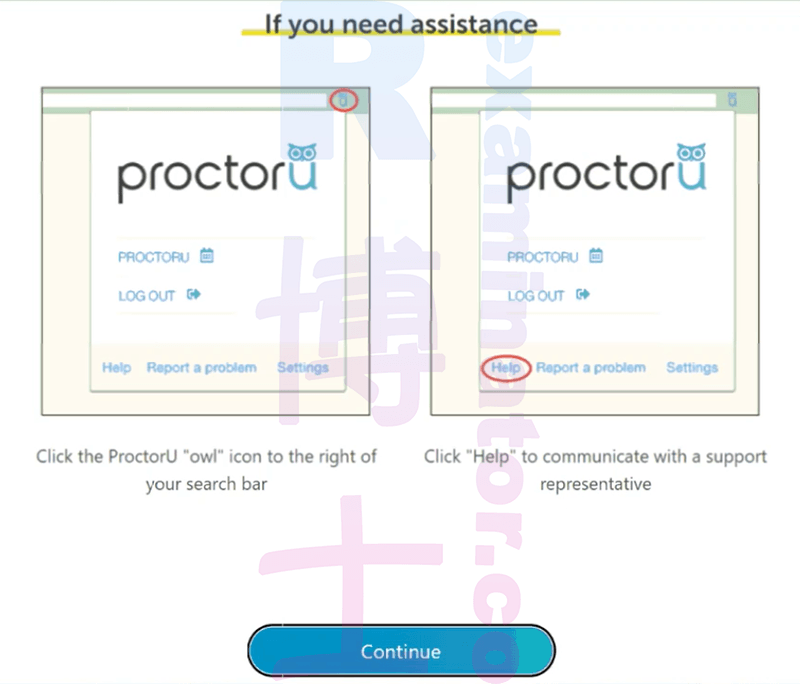
If you need help, click the owl icon 🦉 in the upper right corner, or "Help" in the bottom left to talk to customer service agents.
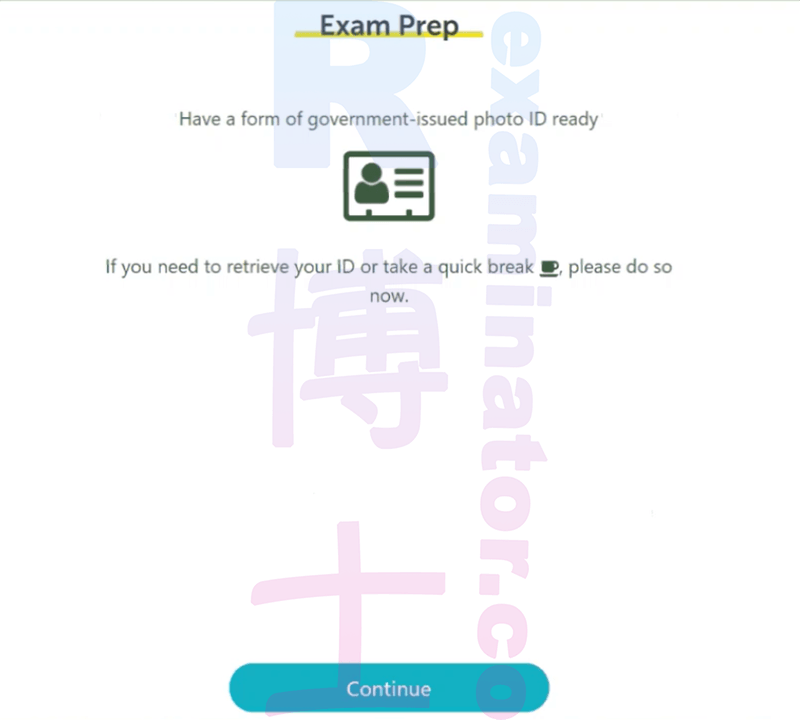
Get your driver's license or passport ready. If you would like to drink or go to the bathroom, do it now.
When you are ready, click "Continue".
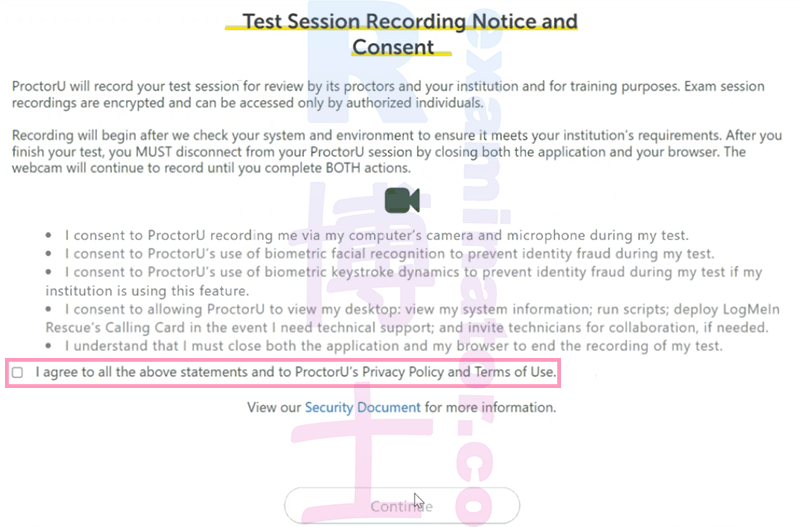
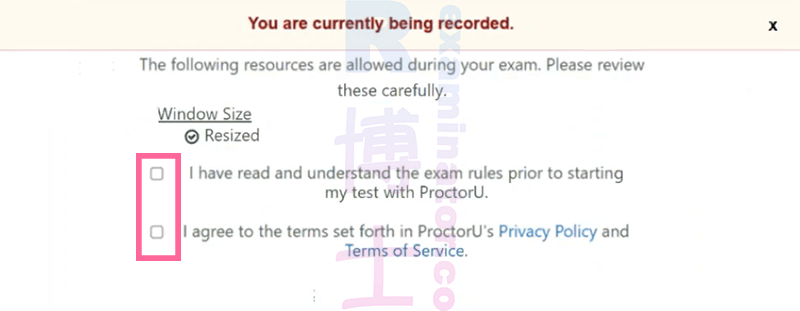
Tick " I agree to all the above statements...”.
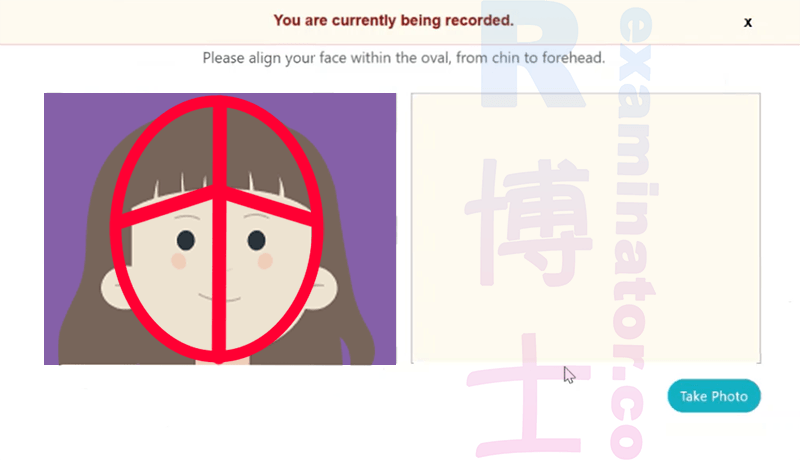
Position your face within the red ellipse and click ”Take Photo”.
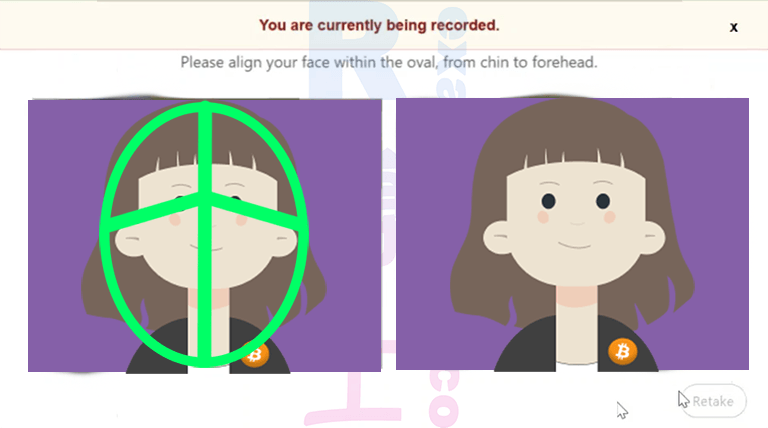
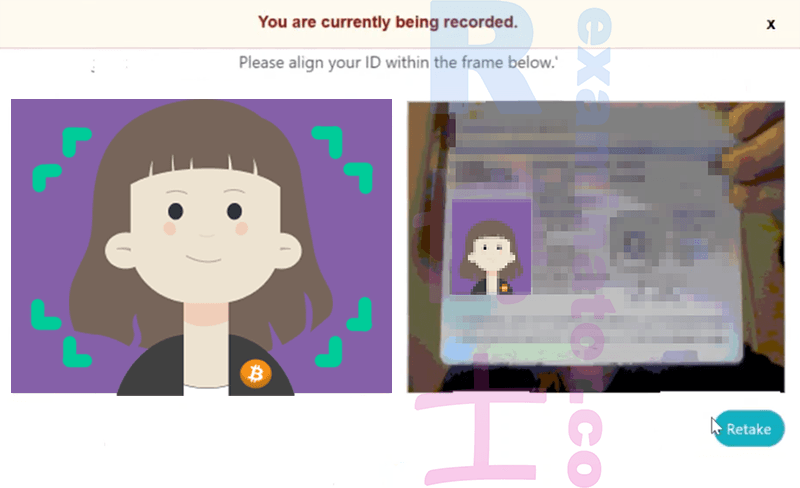
The photo you have just taken will be on the right. If the system deems it necessary, click "Retake" to take the photo again.
Now click "Take Photo“ to take a photo of your ID.
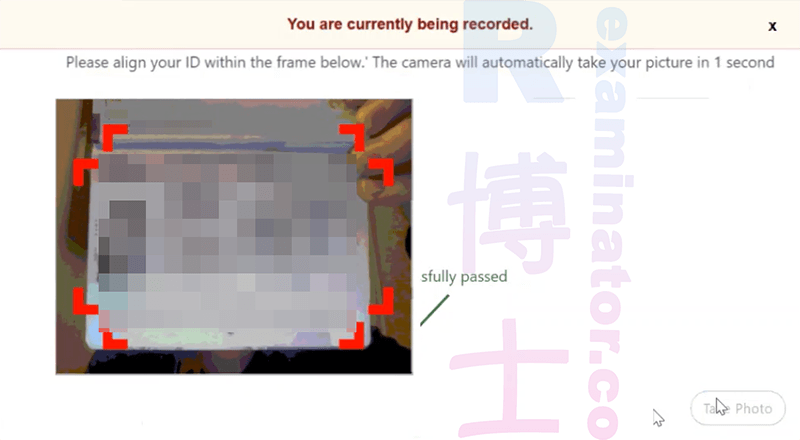
The photo you have just taken will be on the right. If the system deems it necessary, click "Retake" to take the photo again.
Tick both.
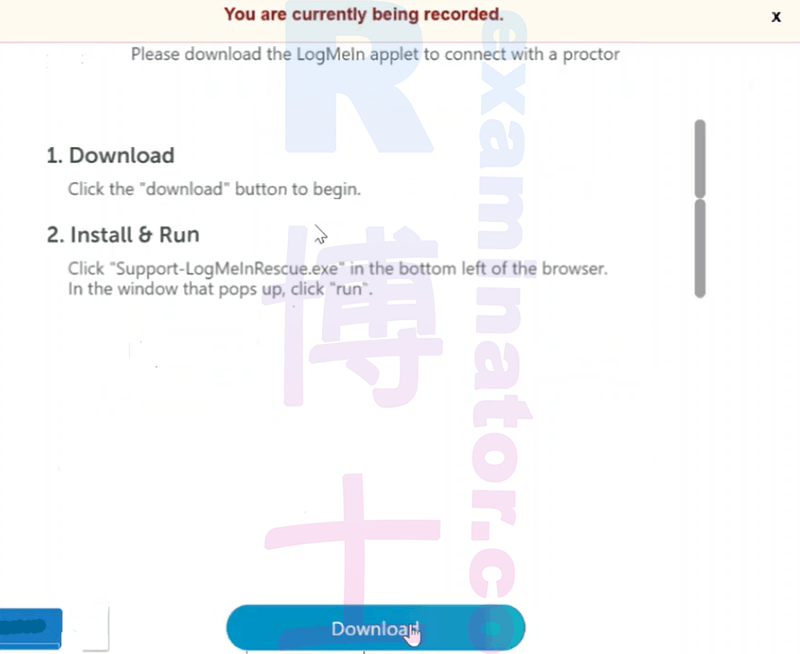
Install and run the LogMeIn applet so you can chat with the proctor.
When a chatbox appears, wait patiently for the proctor.
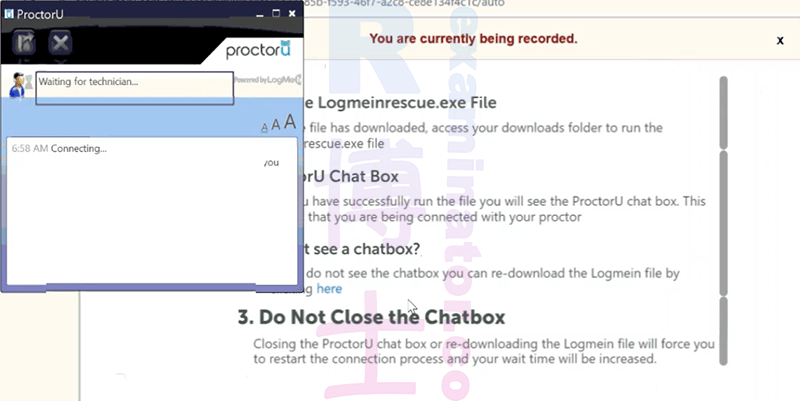
The proctor will check your ID and your testing environment. They will ask to control your computer to manually check it.
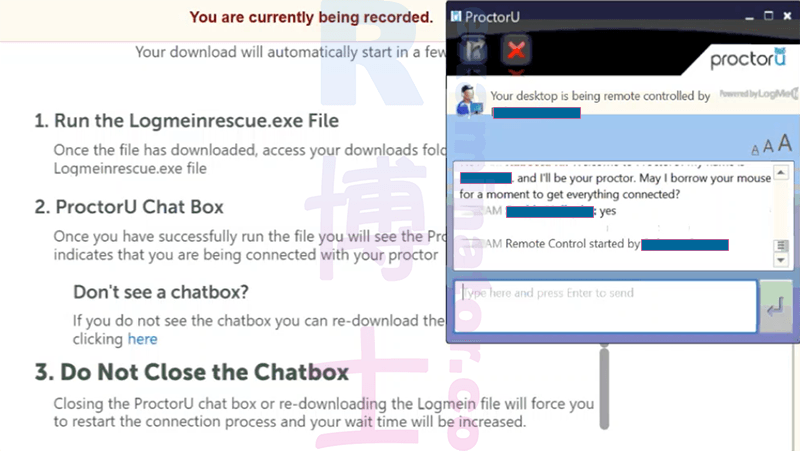
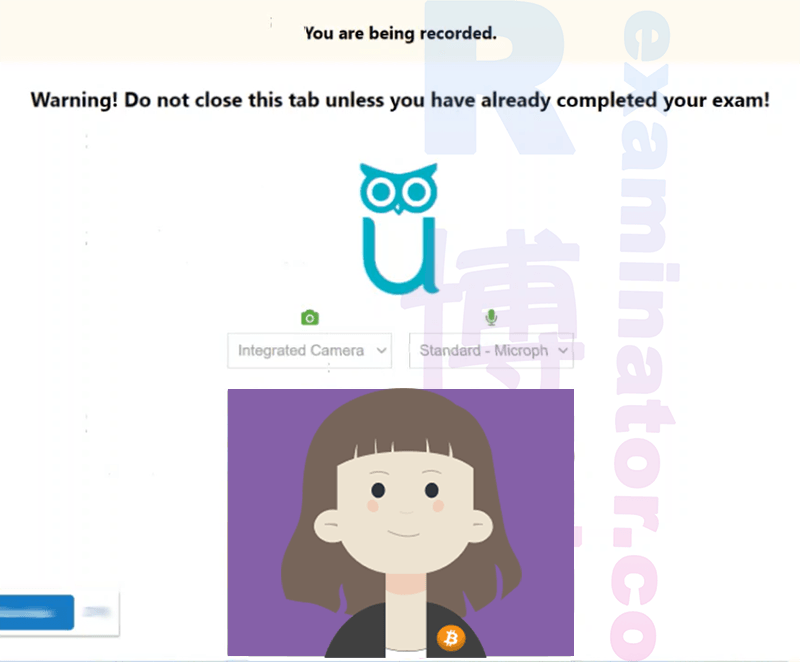
Show your ID to the proctor.
🦸🏻♀️ I will need to view your photo ID. Could you hold that up to the camera so l am able to read the name, expiration date, and photo? Keep the ID up to the camera until instructed to remove it.
🦸🏻♀️Please hold your whiteboard or transparency sleeve up to the camera and show the front and back of it.
🦸🏻♀️Now I will need to see all four corners of your monitor. Use a mirror or your front-facing camera. Please show me all four comers of your monitor, If you are using a front-facing camera, Please turn your camera on "selfie" mode and turn the phone screen so it is facing the computer monitor. Hold the phone in front of your face and pan the camera up and down so l am able to see the entire computer clearly.
🦸🏻♀️Now please place your cell phone behind you out of reach and do not access it until after you have completed the exam unless otherwise instructed. Then, using your webcam, show me where it has been placed.
🦸🏻♀️I will also need to see a 360-degree pan around your room. This will include all four walls of the room. the surface you're working on and the floor under your workspace. Please pause and show me each point so that I can see them clearly.
🦸🏻♀️Also I need to see your table and under the table.
🦸🏻♀️May I use your mouse for a moment to check your computer? I will need to make sure all programs are closed, screenshots are off, and double-check your display settings.
🦸🏻♀️Please show that your ears are free of any listening devices. No headphones will be allowed.
Please remove all watches then show your forearms to the camera.
🦸🏻♀️We are also required to check your eyeglasses. Please hold those up to the camera closely front and back so l can see the frames. Please confirm that these are not electronic glasses. If these are electronic eyeglasses, they must be removed from the testing area completely.
Read aloud the Statement.
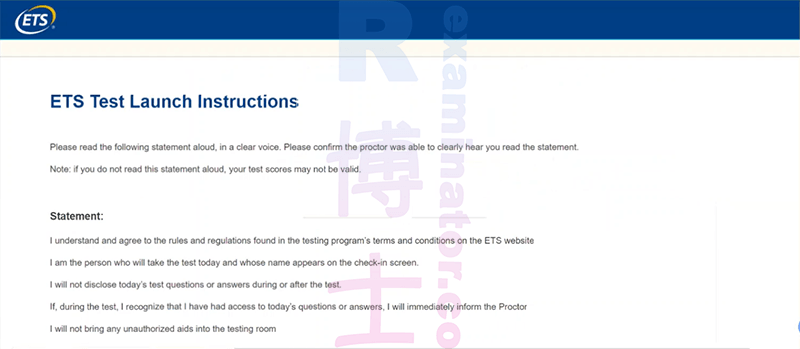
Then the proctor will run the ETS Browser. They will enter the Exam ID and Password to Launch Test.
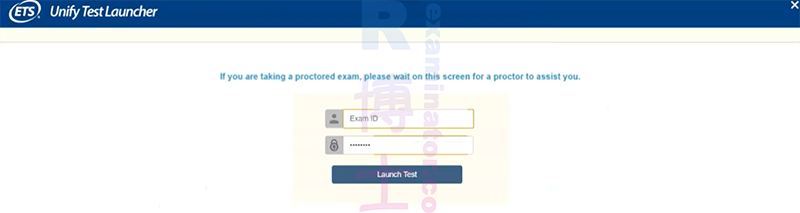
Click “Continue“ because you are what you say you are.
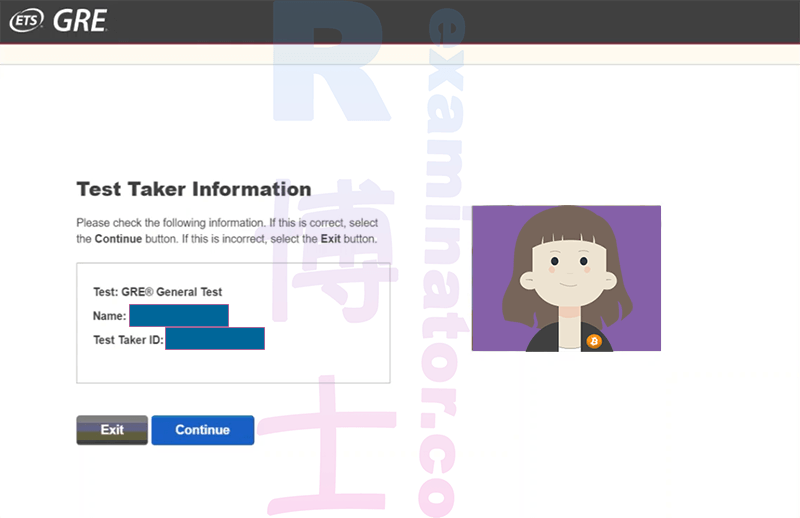
Click “Continue“.
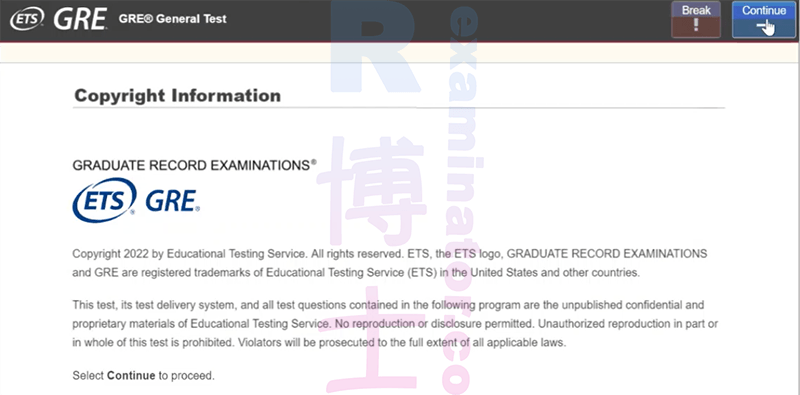
Of course, you will respect the copyrights, click “Continue“.
Contact the proctor if you need anything.
Click “Continue“.
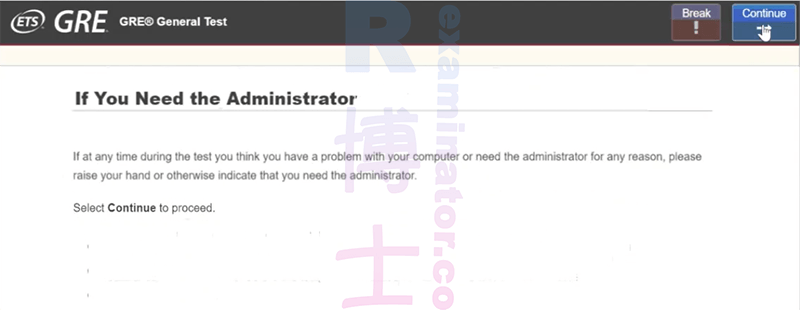
Tick accordingly.
Click “Next“.
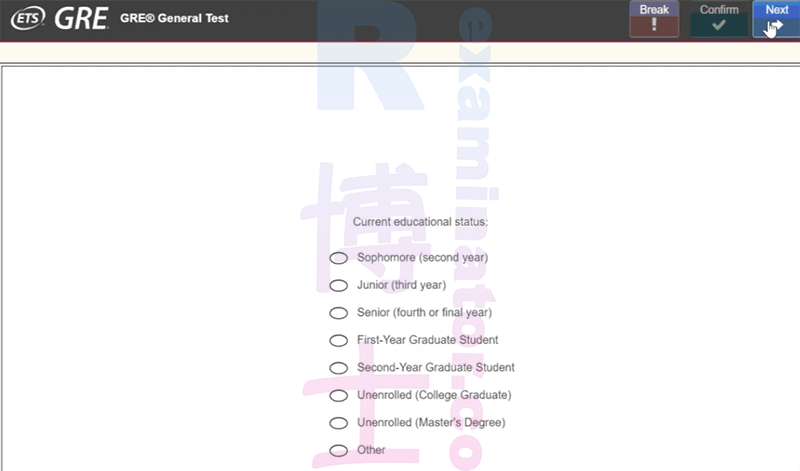
Enter accordingly.
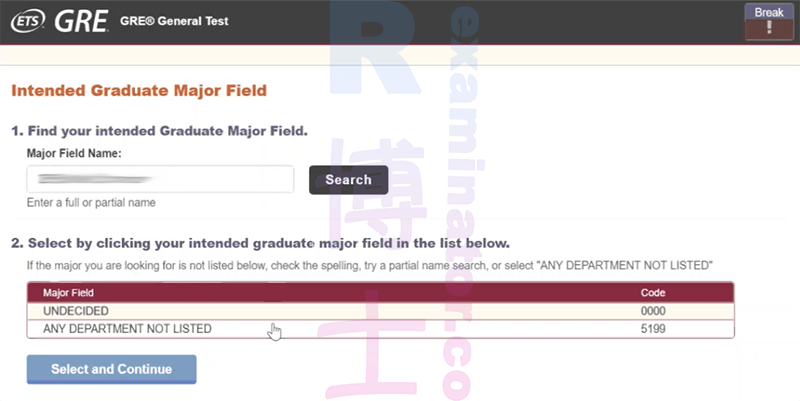
Click “Select and Continue “.
Click “Continue“.
Click “Continue“.
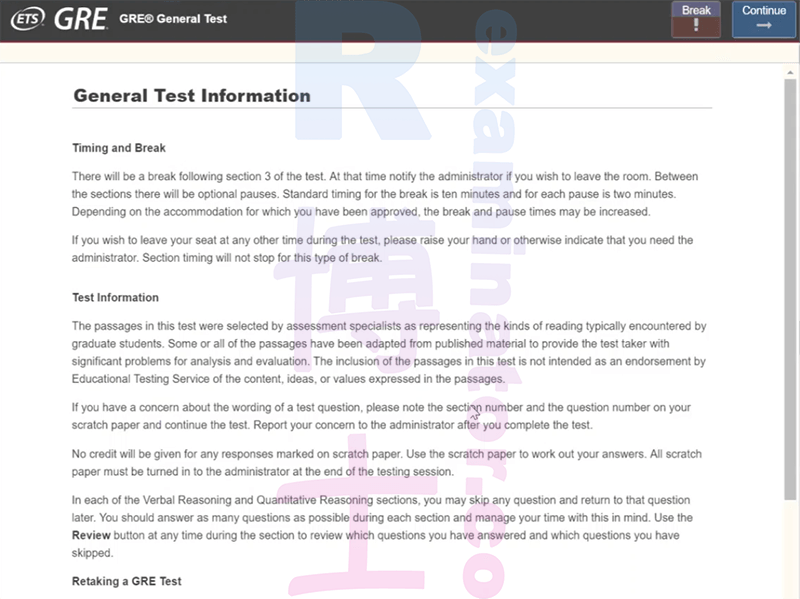
30 minutes for each of the two essays. Click “Continue“.
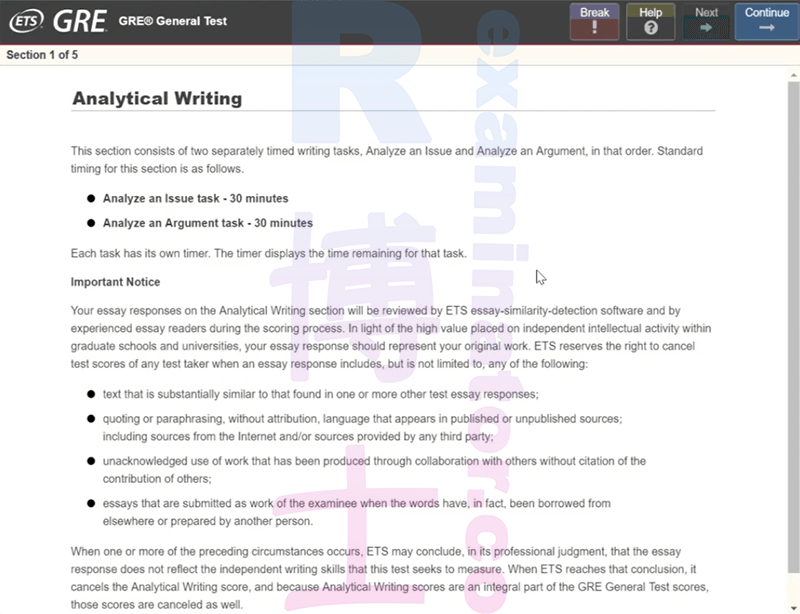
Analytical Writing 1 - Analyze an Issue Task. Click “Continue“.
Leave it to the pros 😎.
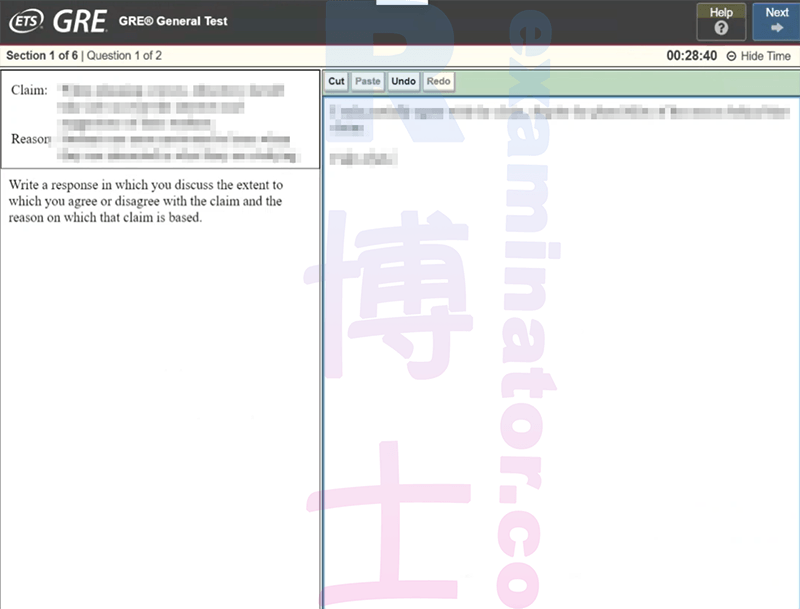
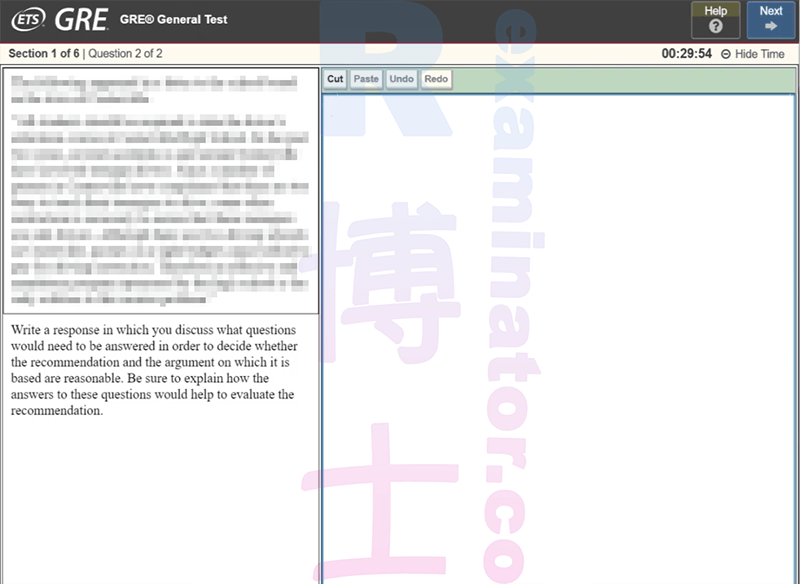
Section 2 ~ Section 6,
You may get VQVQV or QVQVQ.
Verbal Reasoning
Quantitative Reasoning
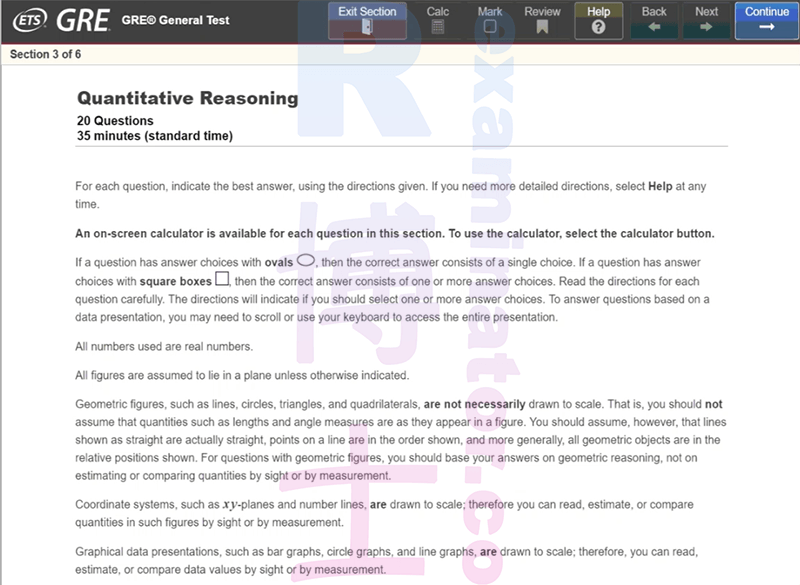
6 sections are all done! ✅
Click “Continue“.
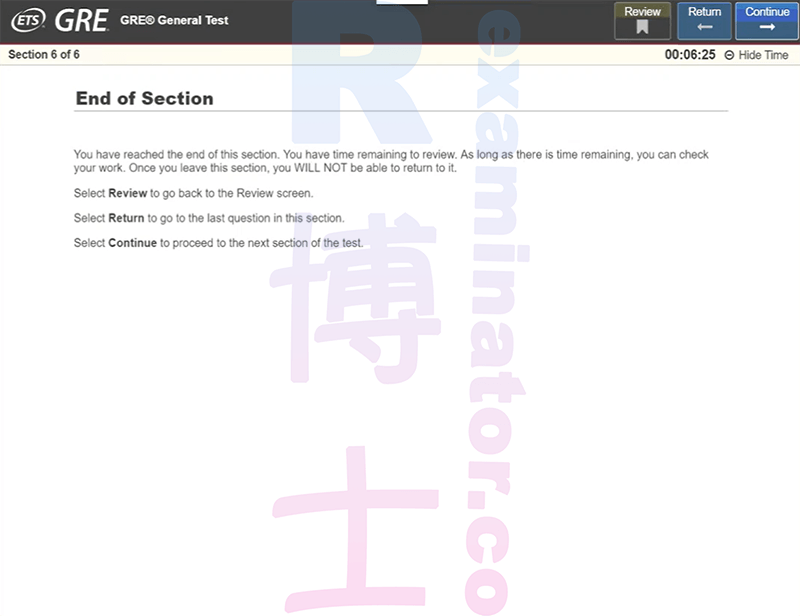
Click "Report Scores“. Don't cancel your score!
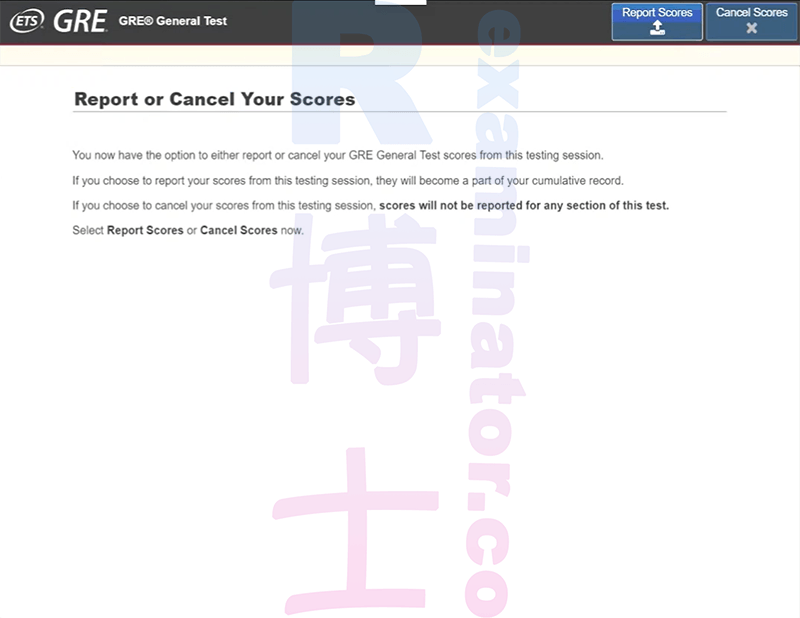
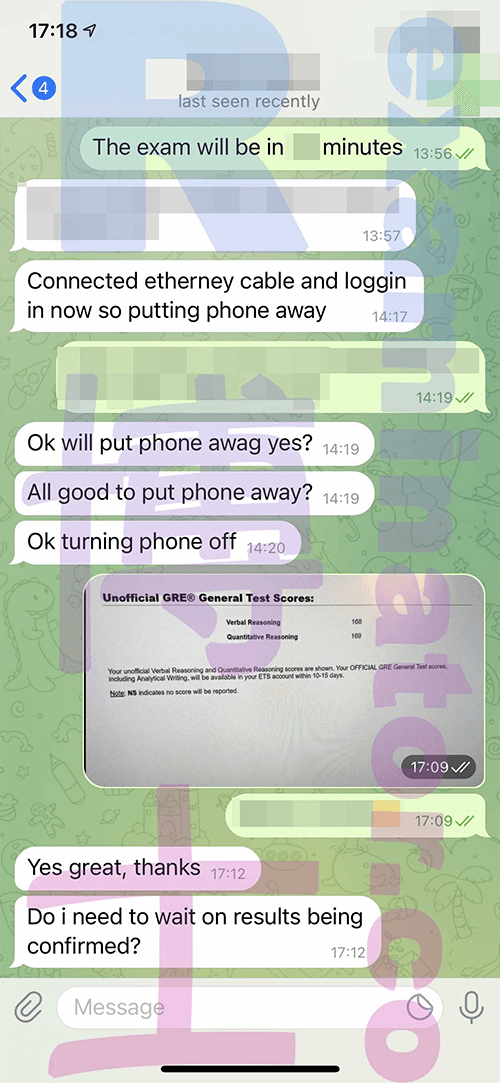
You get your unofficial scores:
170V + 170Q is easy!
Click “Continue“.
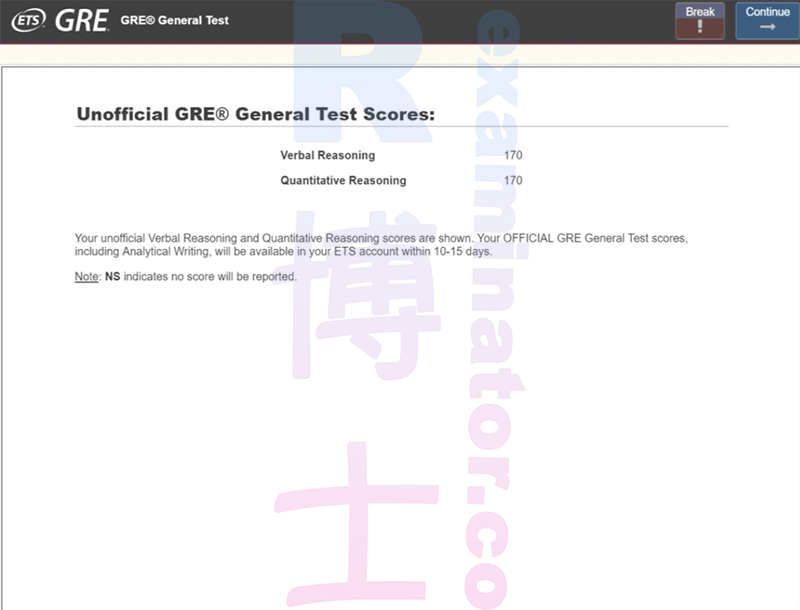
Skip this step.
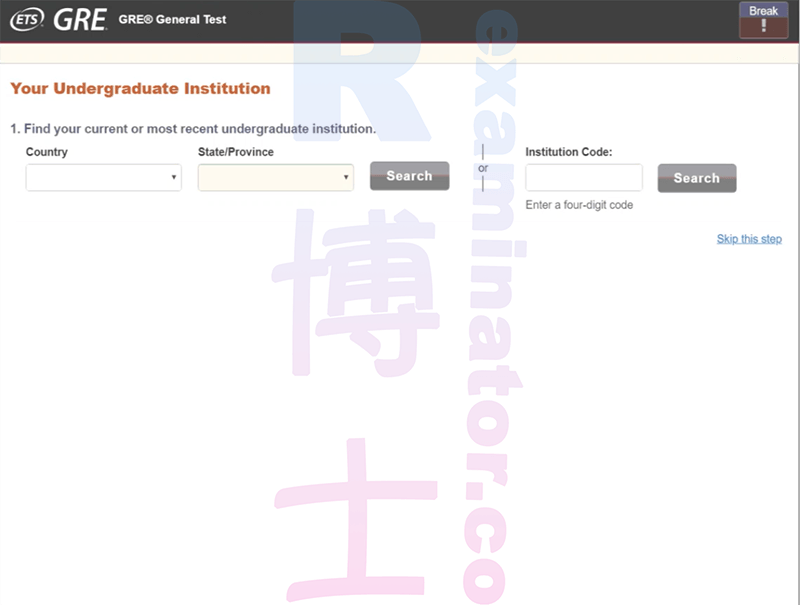
Send your scores to up to 4 schools for free.
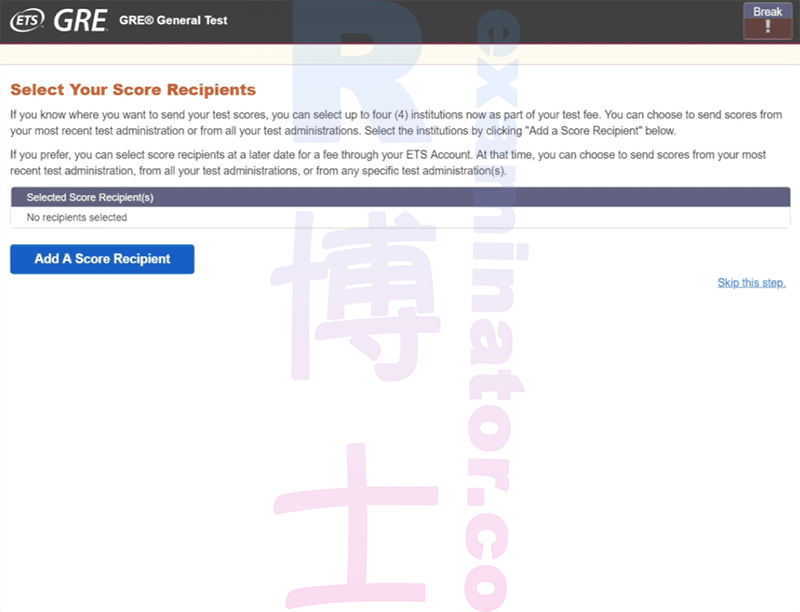
Click “Continue“.
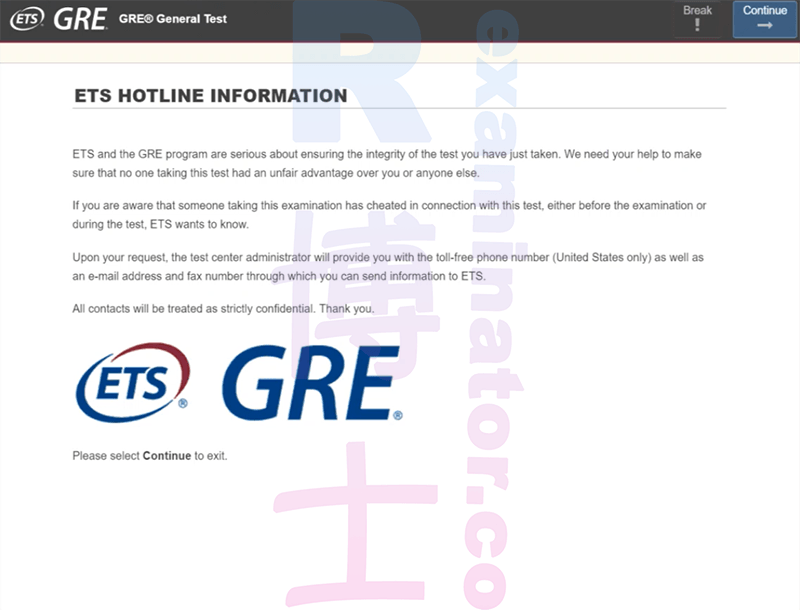
Click “Continue“.
The test is over!
🦸🏻♀️ETS requires the whiteboard or paper with a transparency sheet utilized for the exam to be erased. Please erase the whiteboard or transparency sleeve and then hold it up to the cameras, showing the front and back.
🦸🏻♀️Your exam session is now complete. .. We would appreciate your feedback on a brief survey...
All done!
Know your scores right after the test🎉
You will get your official scores in 8-12 days.
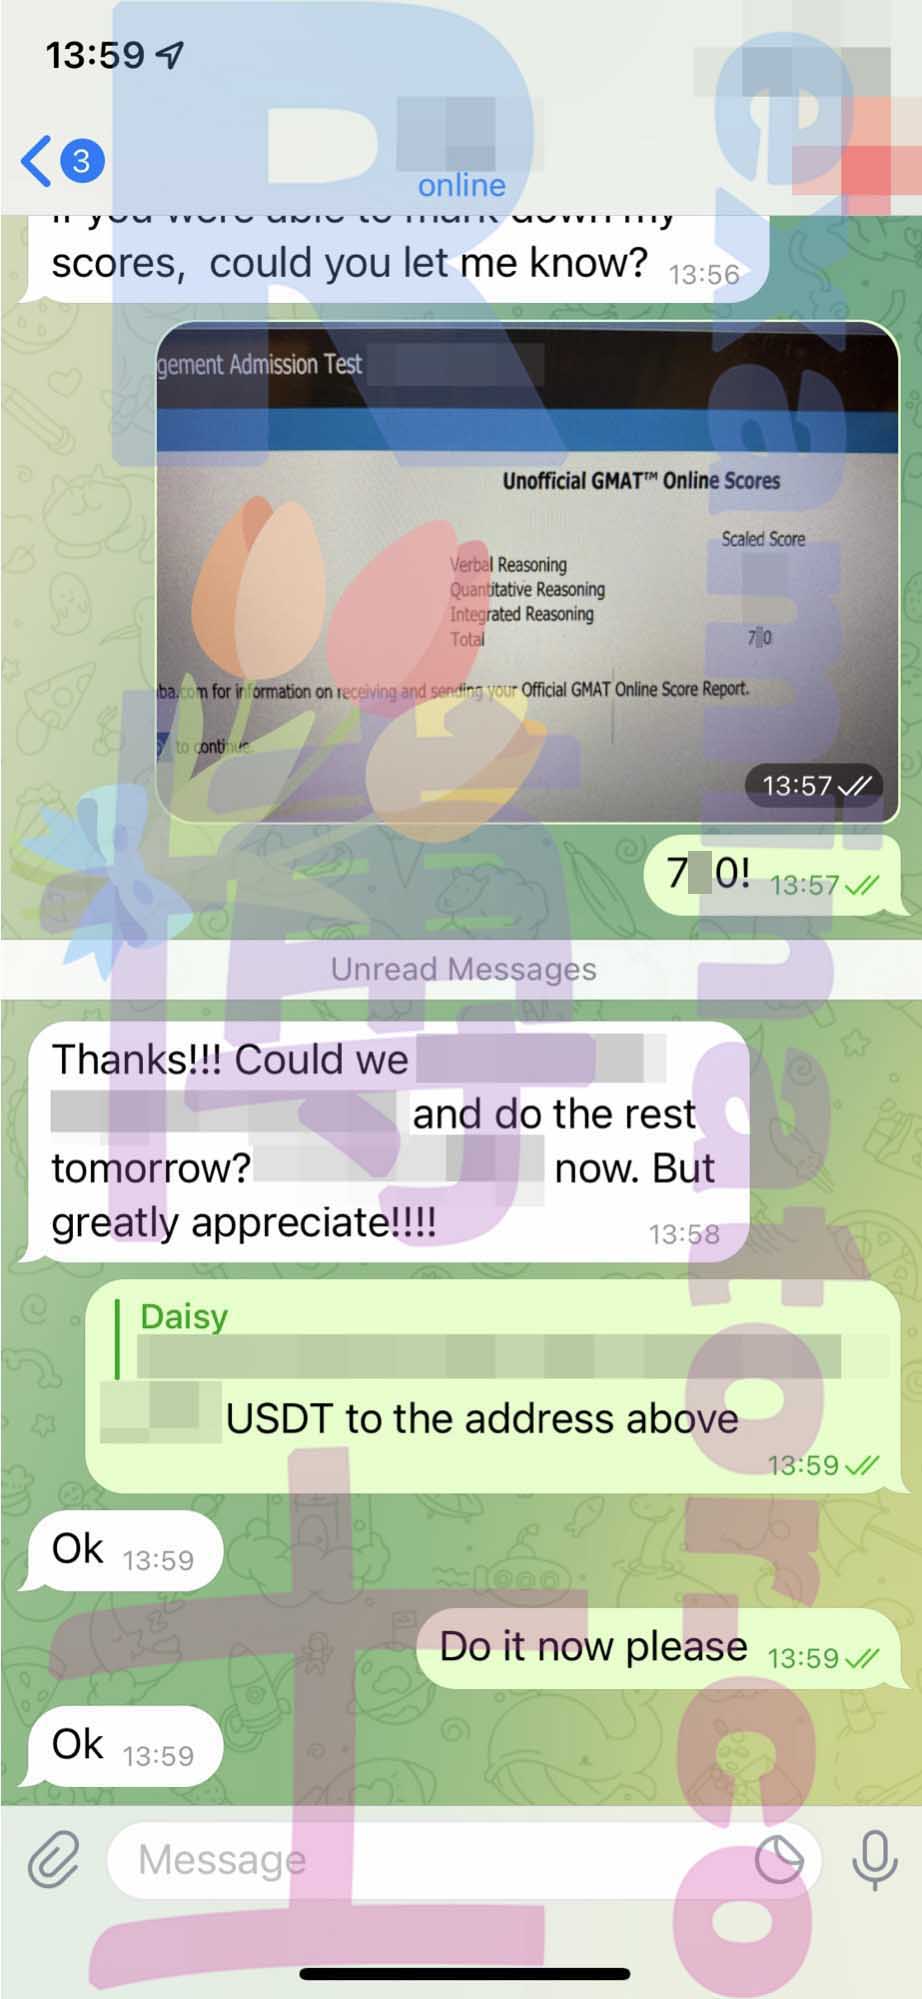
Send the remaining payment
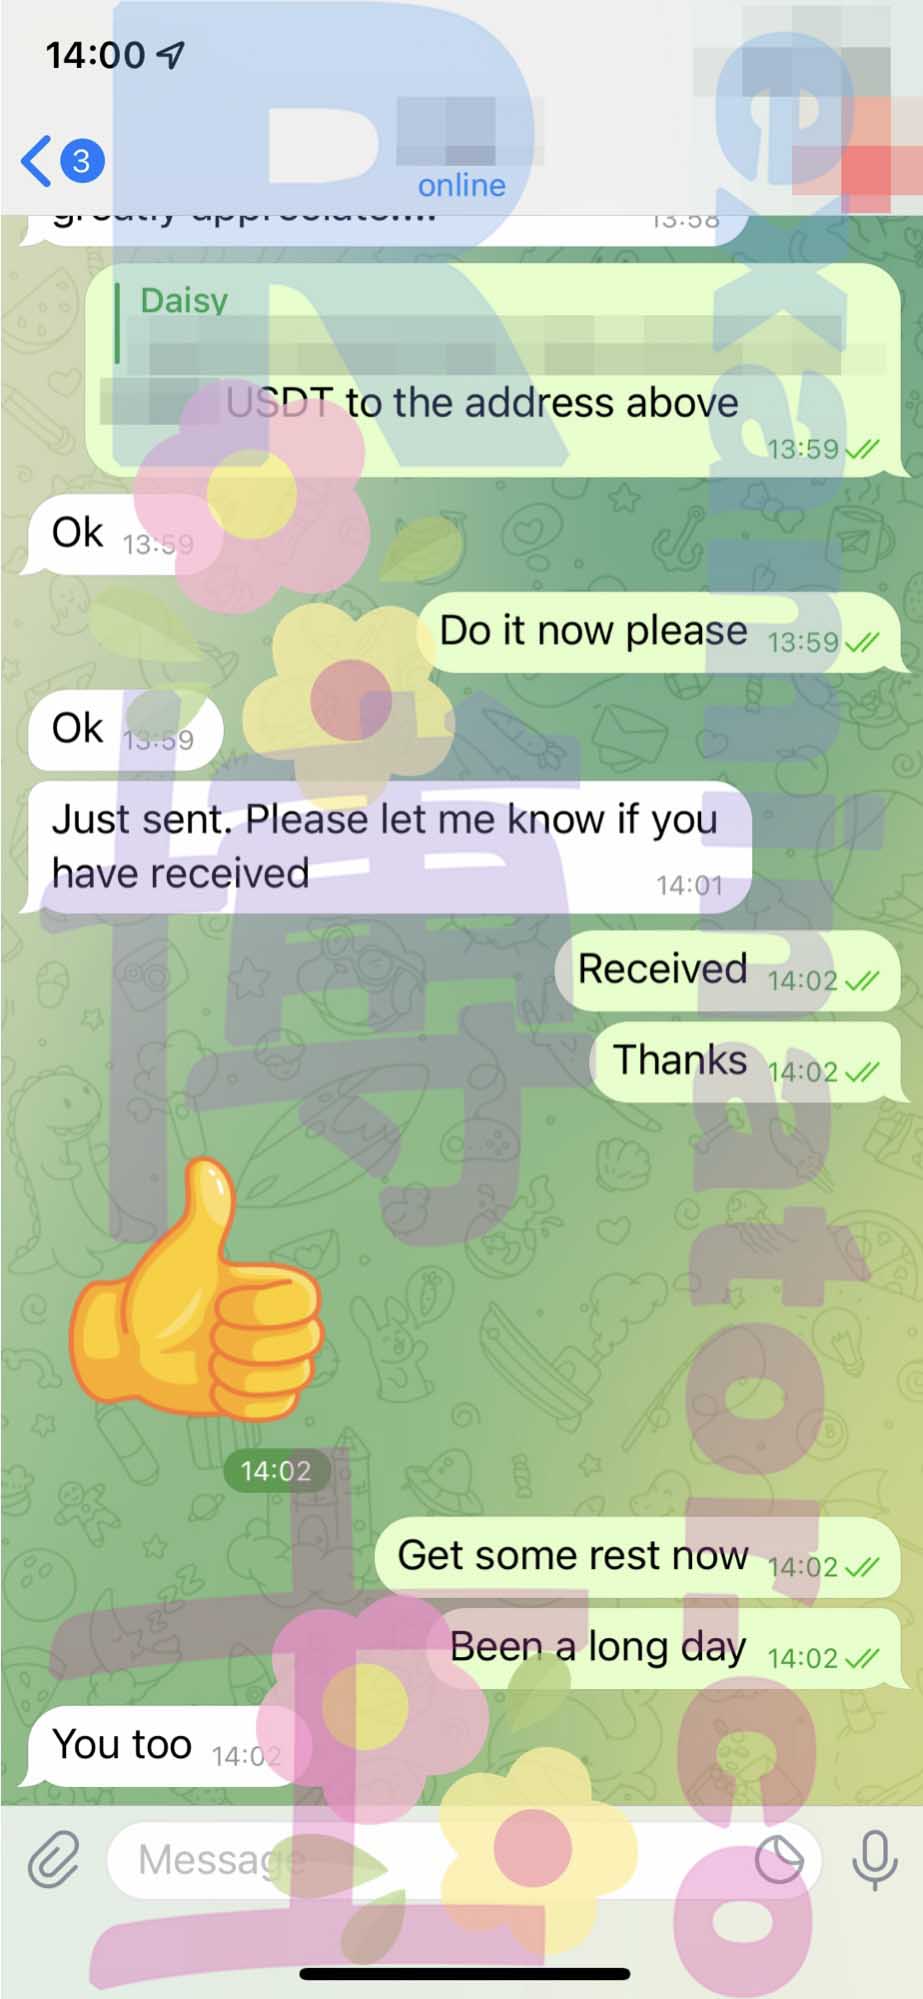
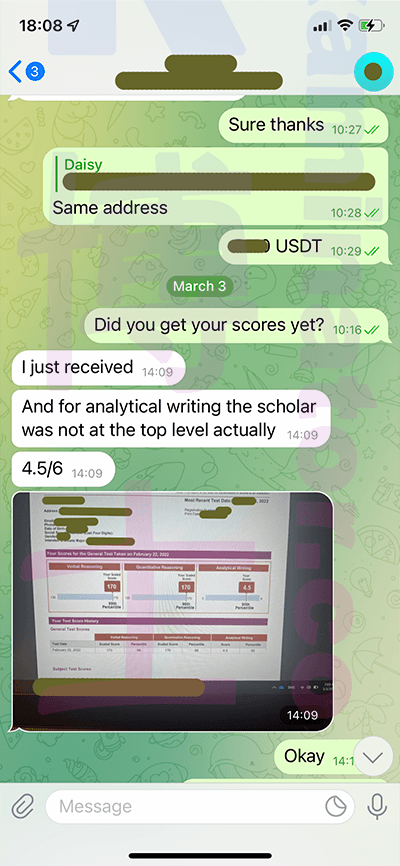
Let us know when you receive your official scores
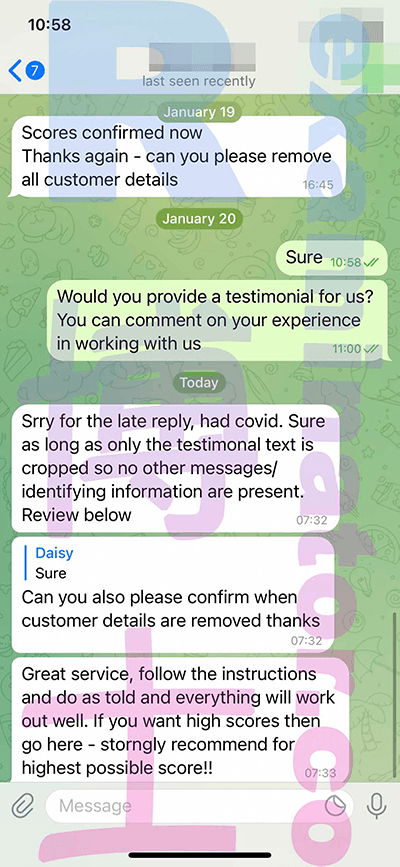
Please provide a testimonial.
Ready to start? See our full GRE cheating service, or read how to pay someone to take the GRE for you.